Apple honey challah

Now that I have been on the road for over a month, I must admit that I really miss baking. Although I often believe that traveling is my natural state and when I feel my happiest and most enlightened, I do still miss the comforts of having a home and mainly a kitchen to bake/cook in. Before I left Australia this loaf of bread was one of the last things I made (had to use up those packets of yeast after all) and even though this is incredibly belated, I was thinking about warm bread today while eating yet more Asian food for some reason. I associate warm bread with comfort, and I have been very, very out of my comfort zone these past two weeks in Vietnam and Cambodia. Food entries on these two amazing countries will come soon!
But when I get back to America, I am definitely going to be making this bread. Yes, it’s a bit time intensive, but as with all breads it’s more than worth it. As I’ve said before on this blog, challah is my favourite kind of bread, and this one is out of this world. The addition of apples and honey to the dough just takes it to another level. It’s ideal in a big warm chunk for breakfast, or if it actually lasted, I imagine it would make fantastic French toast. The trick to braiding it beautifully is a bit difficult, so I’d suggest you check out the below link for more step by step pictures (of course, Smitten Kitchen does a far better job of photographing than I ever do). Regardless of what shape your bread ends up in though, it will be utterly delicious. I promise.
Apple honey challah (adapted from Smitten Kitchen)
Bread
2 1/4 teaspoons (1 standard 1/4-ounce packet) active dry yeast
1/3 cup (79 ml) plus 1 teaspoon honey
1/3 cup (79 ml) neutral oil, plus more for the bowl
2 large eggs plus 1 large yolk
1 1/2 teaspoons (8 grams) table salt
4 1/4 cups all-purpose (530 grams) or bread flour (578 grams), plus more for your work surface
Apple filling
2 medium baking apples (I tend to use Granny Smith but any type will work really), peeled, cored and in 1/2- to 3/4-inch chunks
Squeeze of lemon juice, to keep them from browning
Egg wash
1 large egg
Make the dough by adding the yeast and 1 teaspoon honey into 2/3 cup warm water and let stand until foamy, a few minutes. Then pour in the oil, the remaining honey, eggs, and yolk and combine. Add the flour all at once and stir it up until you get a big mass of dough. Turn dough out onto a floured counter and knead it into a smooth, elastic dough, about 5 to 8 minutes. Try to use as little flour as necessary when kneading the dough; you don’t want to toughen the bread. There always tends to be a lot of flour in the bottom of the bowl so I make sure to dump that out on top of the bread when kneading it. It will be a bit sticky but it should come together. Once it has, transfer it to a large oil-coated bowl, cover with plastic wrap, and set aside until it rises – at least 1 hour. I don’t tend to time my risings since I think all levels of risen bread are excellent.
Once the dough has risen, turn it out onto a floured counter and gently press it down into a flat, oblong shape – don’t worry too much about the exact size of it though. Spread 2/3 of apple chunks over 1/2 of the flattened dough. Fold the other half over the apple chunks and press the dough down around them, flattening the now lumpy dough. Spread the remaining 1/3 apple chunks over half the folded dough. Fold the other half over the apples, pressing the dough down again. Your dough packet will likely be square-ish. Fold the corners under with the sides of your hands and form the dough into a round. Upend your empty bowl over it and set it aside for another 30 minutes or so. (If this makes no sense go to the original post in the link above and see the photos – it’s not actually that hard to do.)
Then comes the weaving part! Divide dough into 4 pieces. Roll and stretch each one as carefully as you can into a rope — don’t worry about getting it too long or thin, just 12 inches or so should do. If any apple chunks fall out as you form the ropes or at any other time in the forming of the loaf or risings, just poke them back in with your finger.
Arrange two strands in each direction, perpendicular to each other, like a plus sign. Weave them so that one side is over, and the other is under, where they meet. Take the four legs that come from underneath the center and move them over the leg to their right, i.e. jumping it. Take those legs that were on the right and again, jump each over the leg before, this time to the left. If you had extra length to your ropes, you can repeat these left-right jumps until you run out of rope. I only did this a few times. Just as you had with the folded packet of apple dough above, tuck the corners/odd bumps under the dough with the sides of your hands to form a round.
Transfer the dough to a parchment-covered heavy baking sheet. Beat egg until smooth and brush over challah. Let challah rise for another hour. Then, preheat the oven to 375 F / 190 C. Before baking brush the loaf one more time with egg wash. Bake in the middle of oven for 40 to 45 minutes. It should be beautifully bronzed; if yours starts getting too dark too quickly, cover it with foil for the remainder of the baking time. This totally happened to me unfortunately so the photos show the bread being just a bit too dark on top. It will take a while to cook so just because it’s browned on the outside doesn’t mean it’s done. Make sure to cover it with foil and keep baking it, and keep an eye on it. Obviously it tastes best warm (though not directly out of the oven when it will burn you) but it’s delightful at room temperature as well!
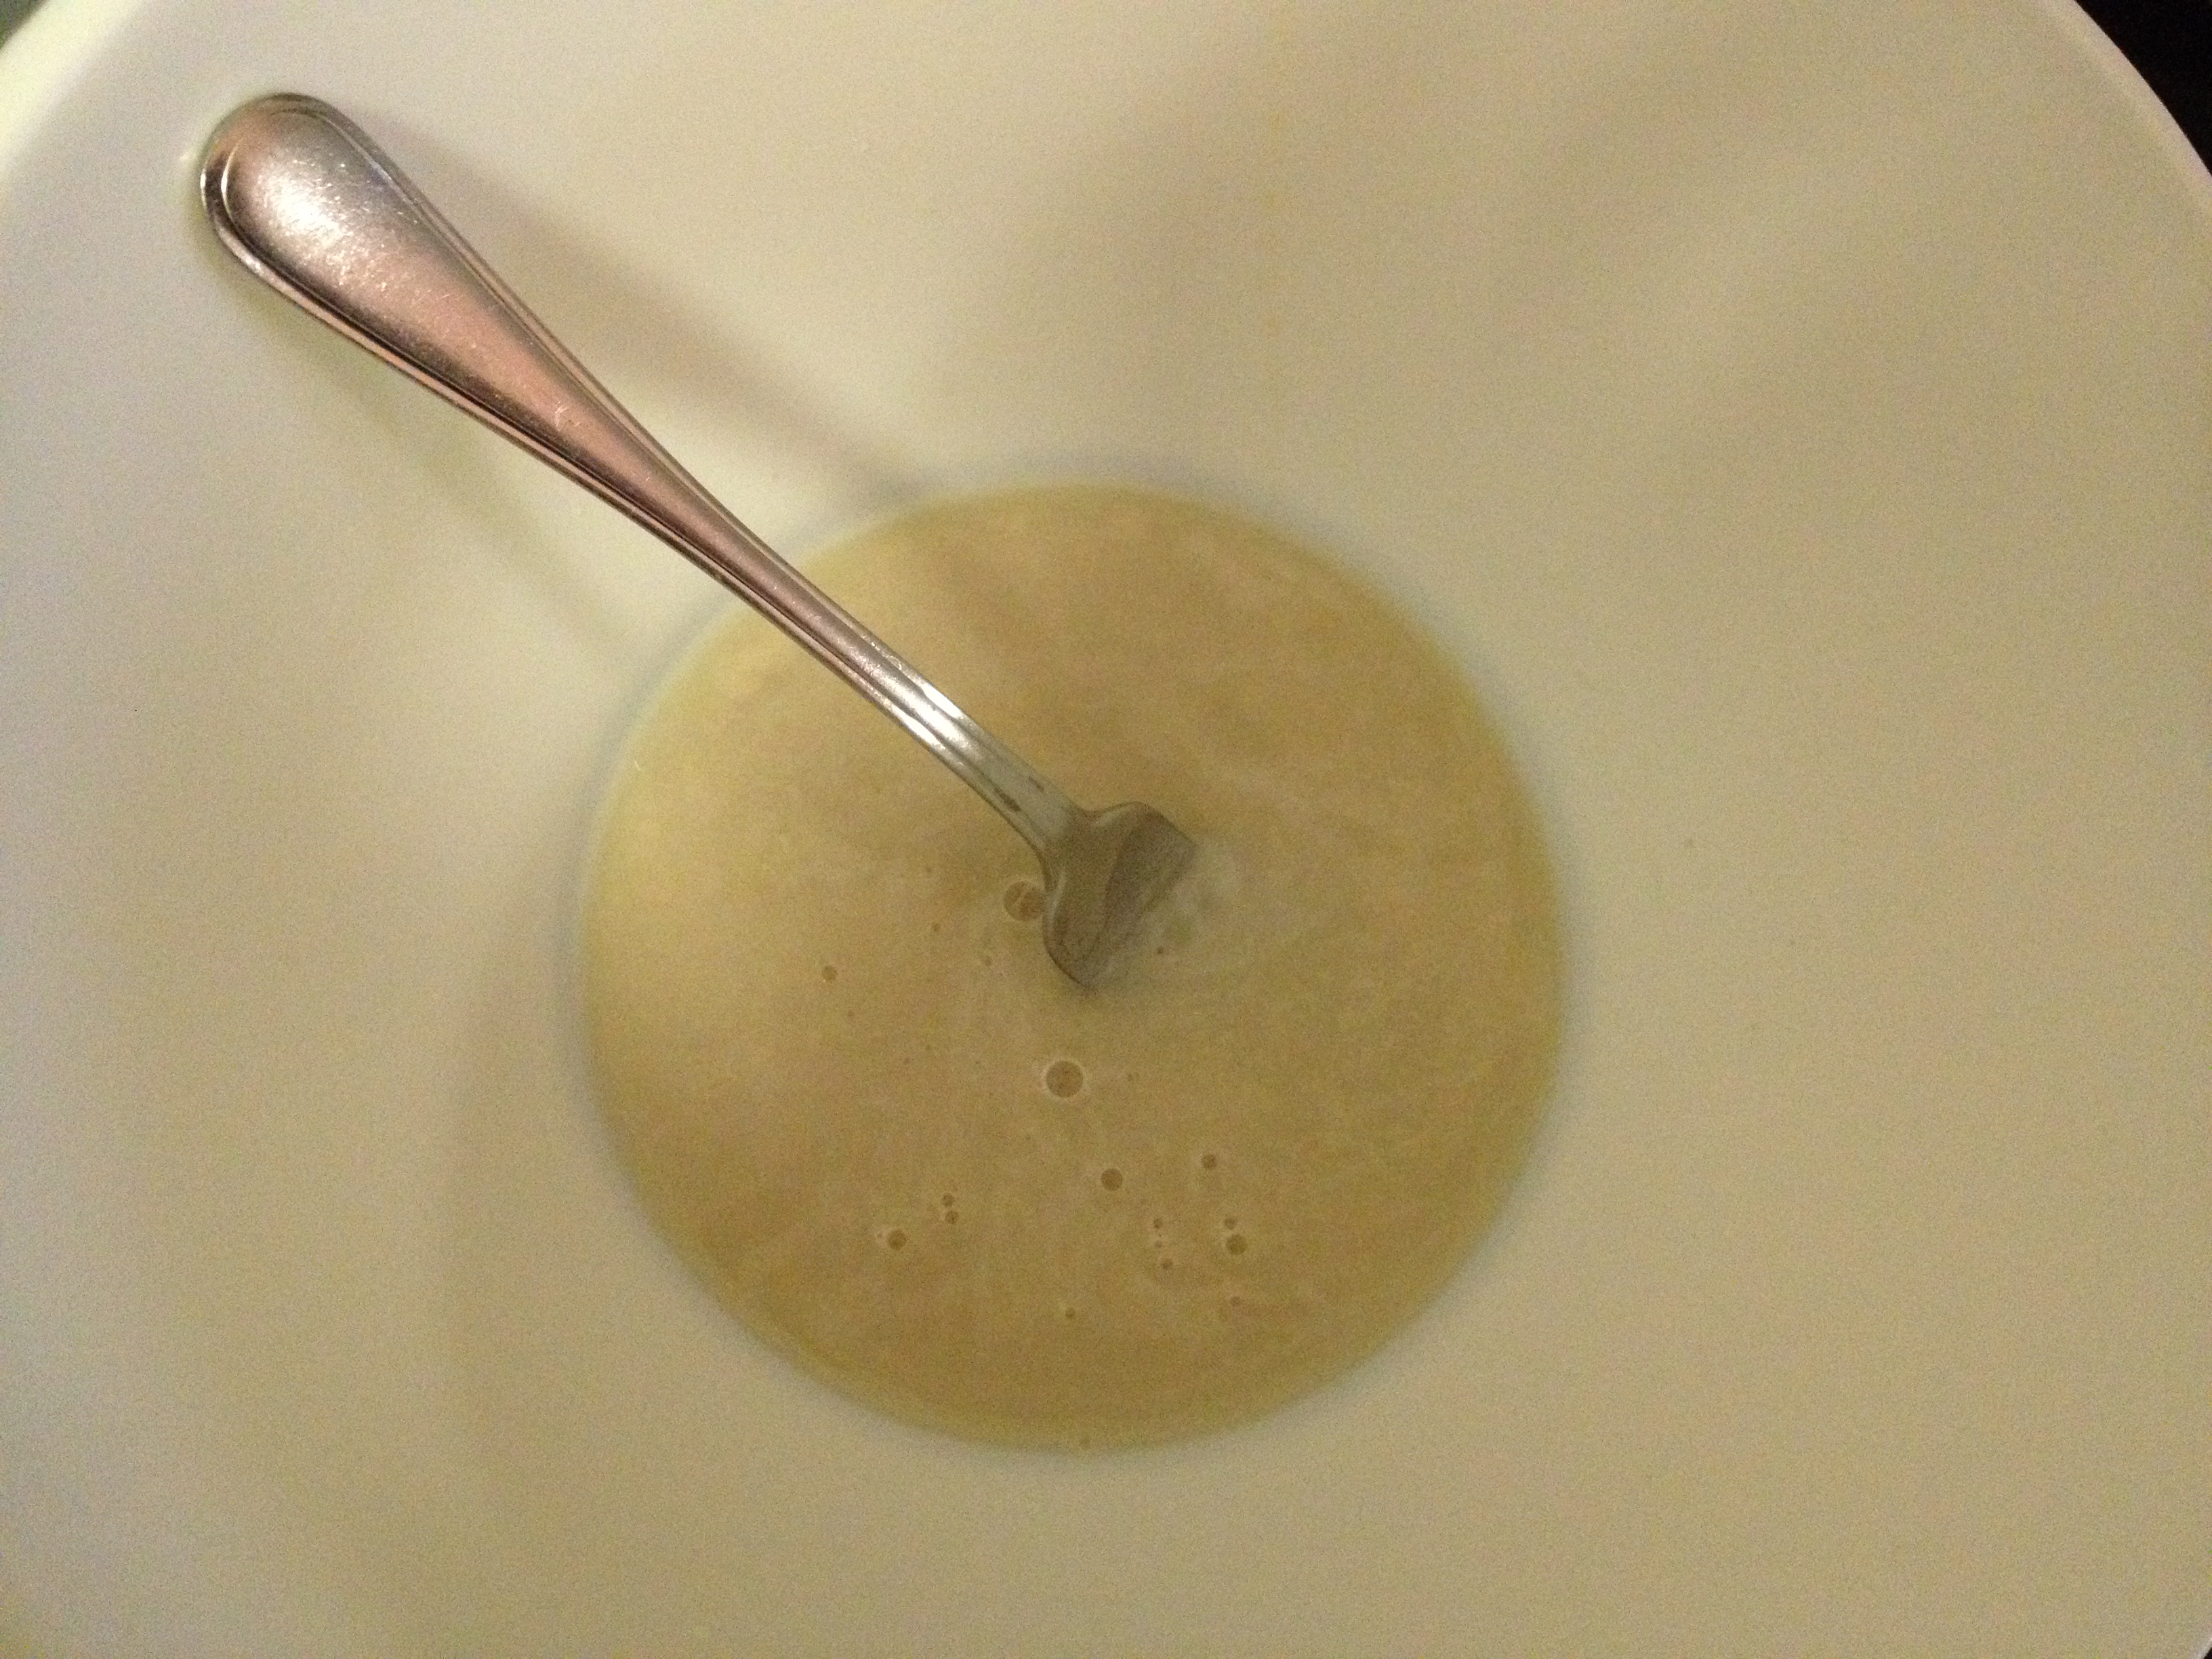 The yeast mixture
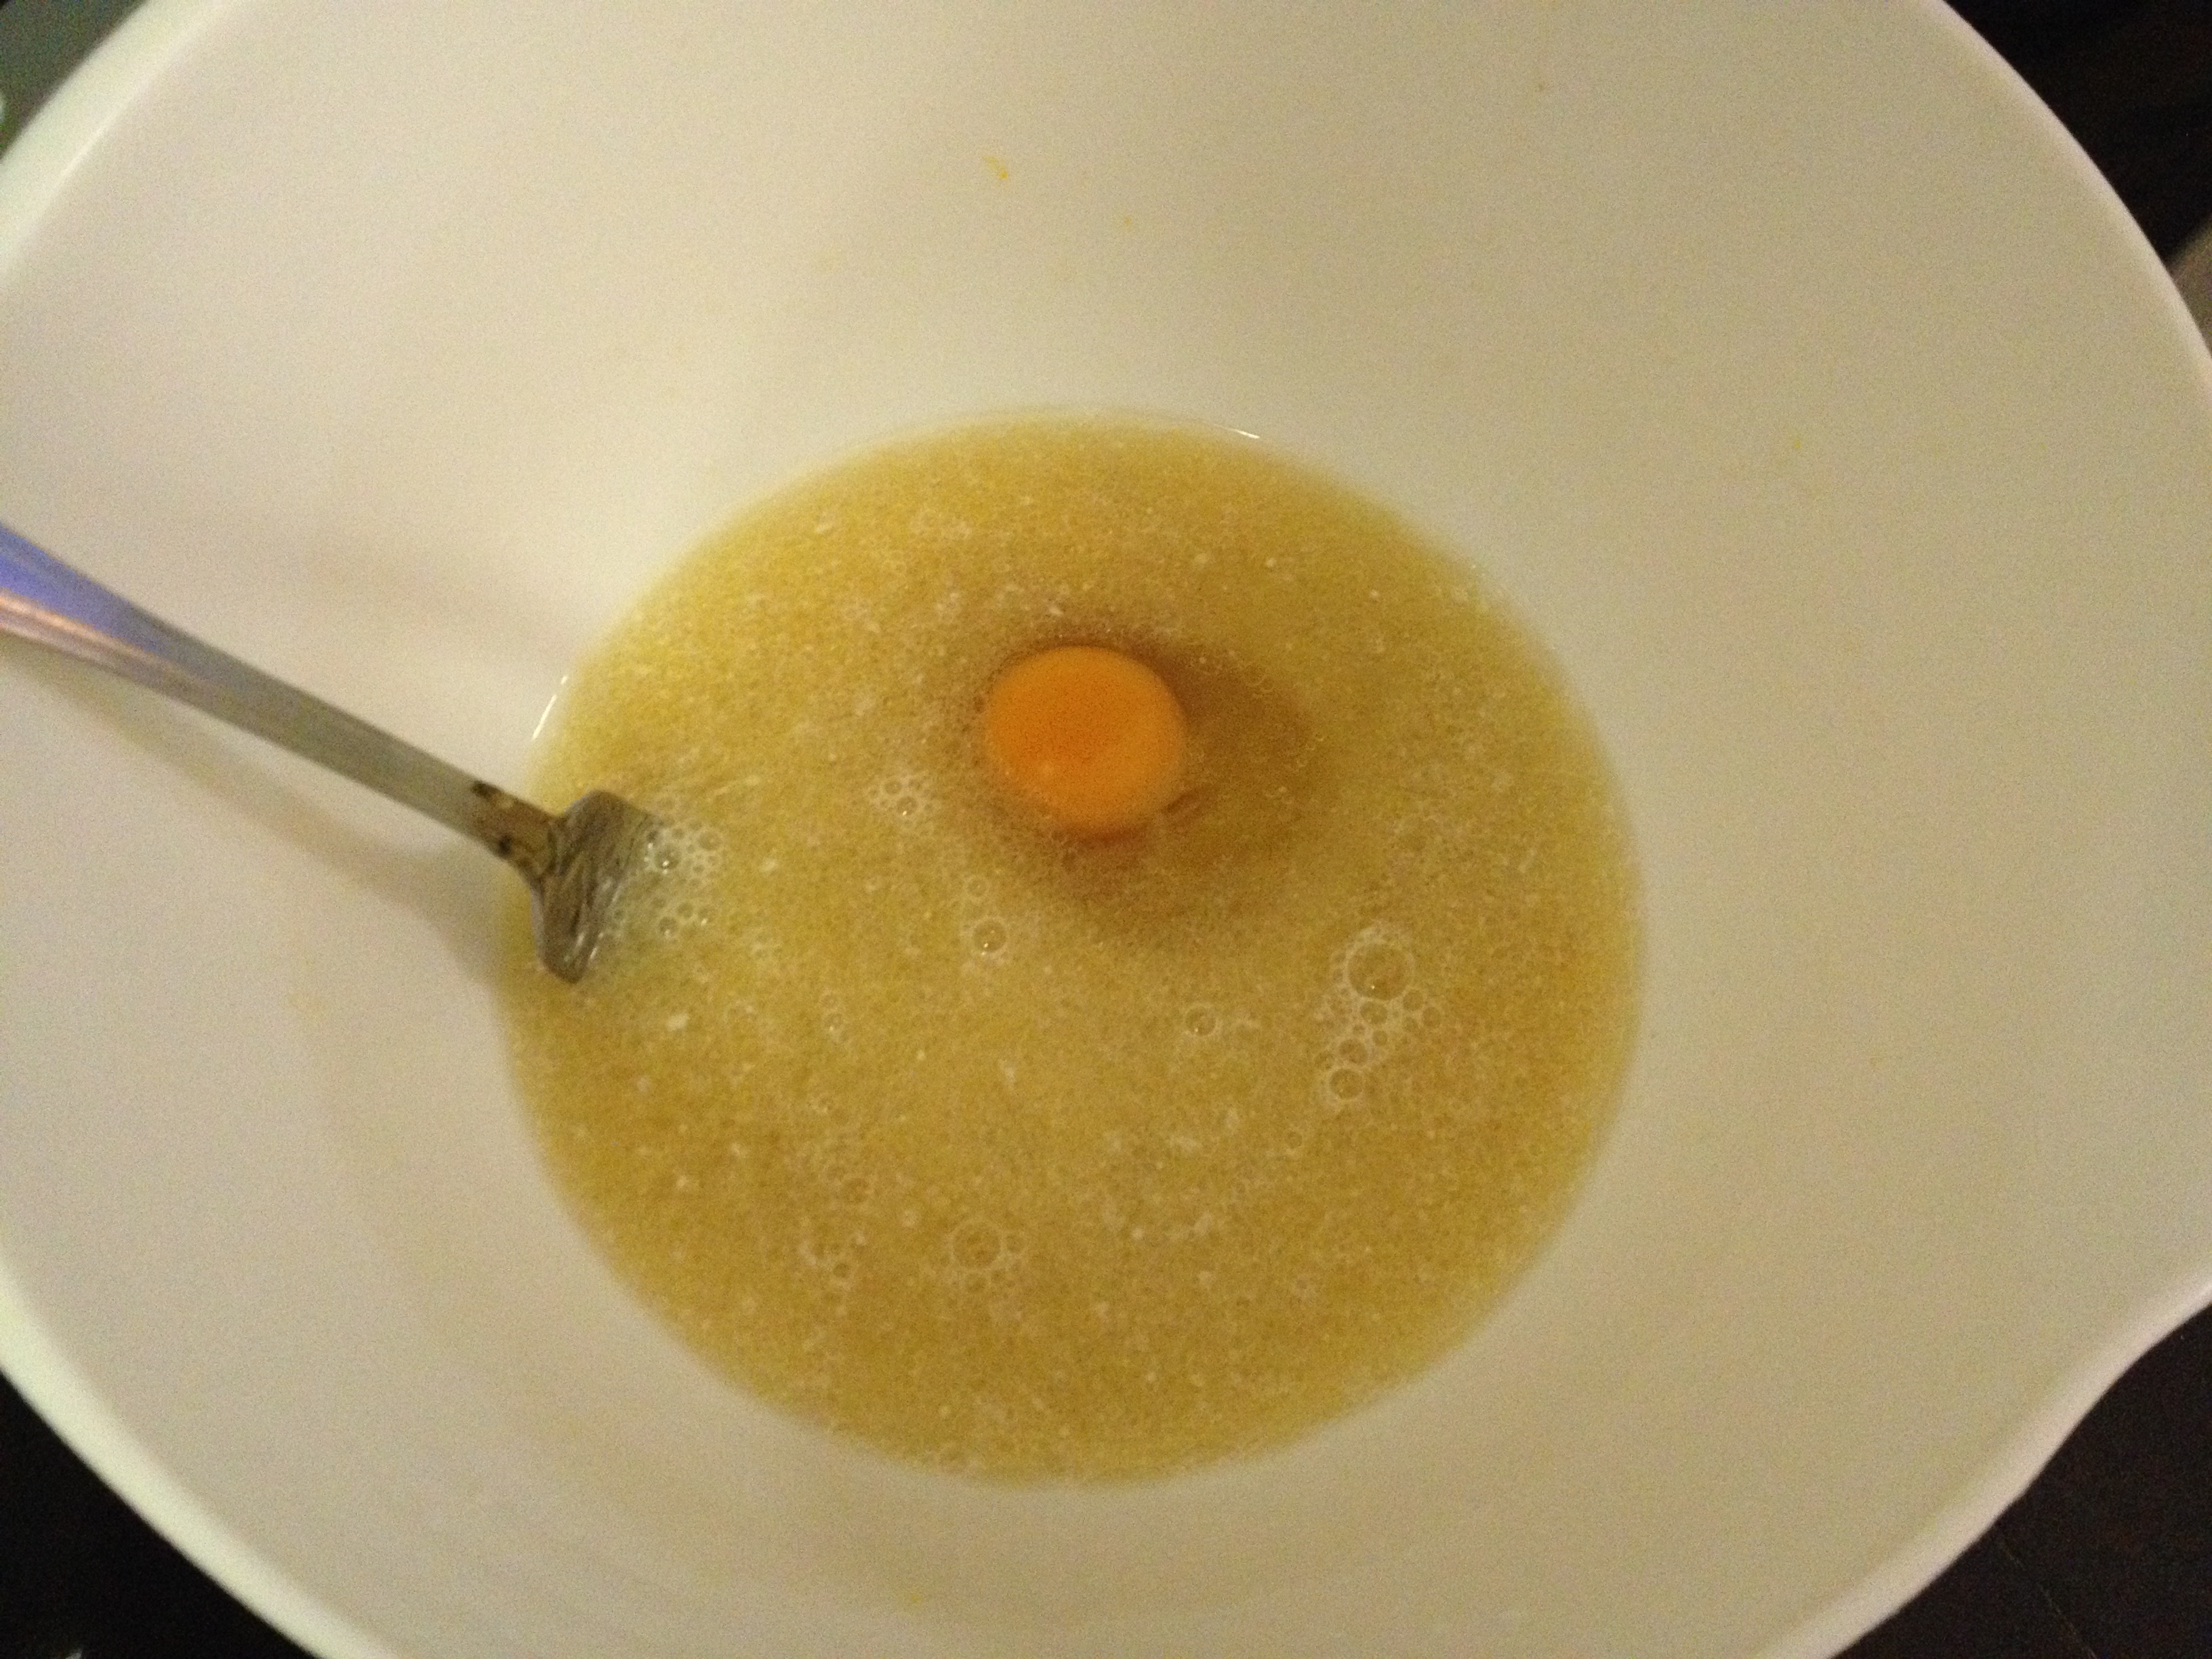 Adding the eggs to the yeast mixture
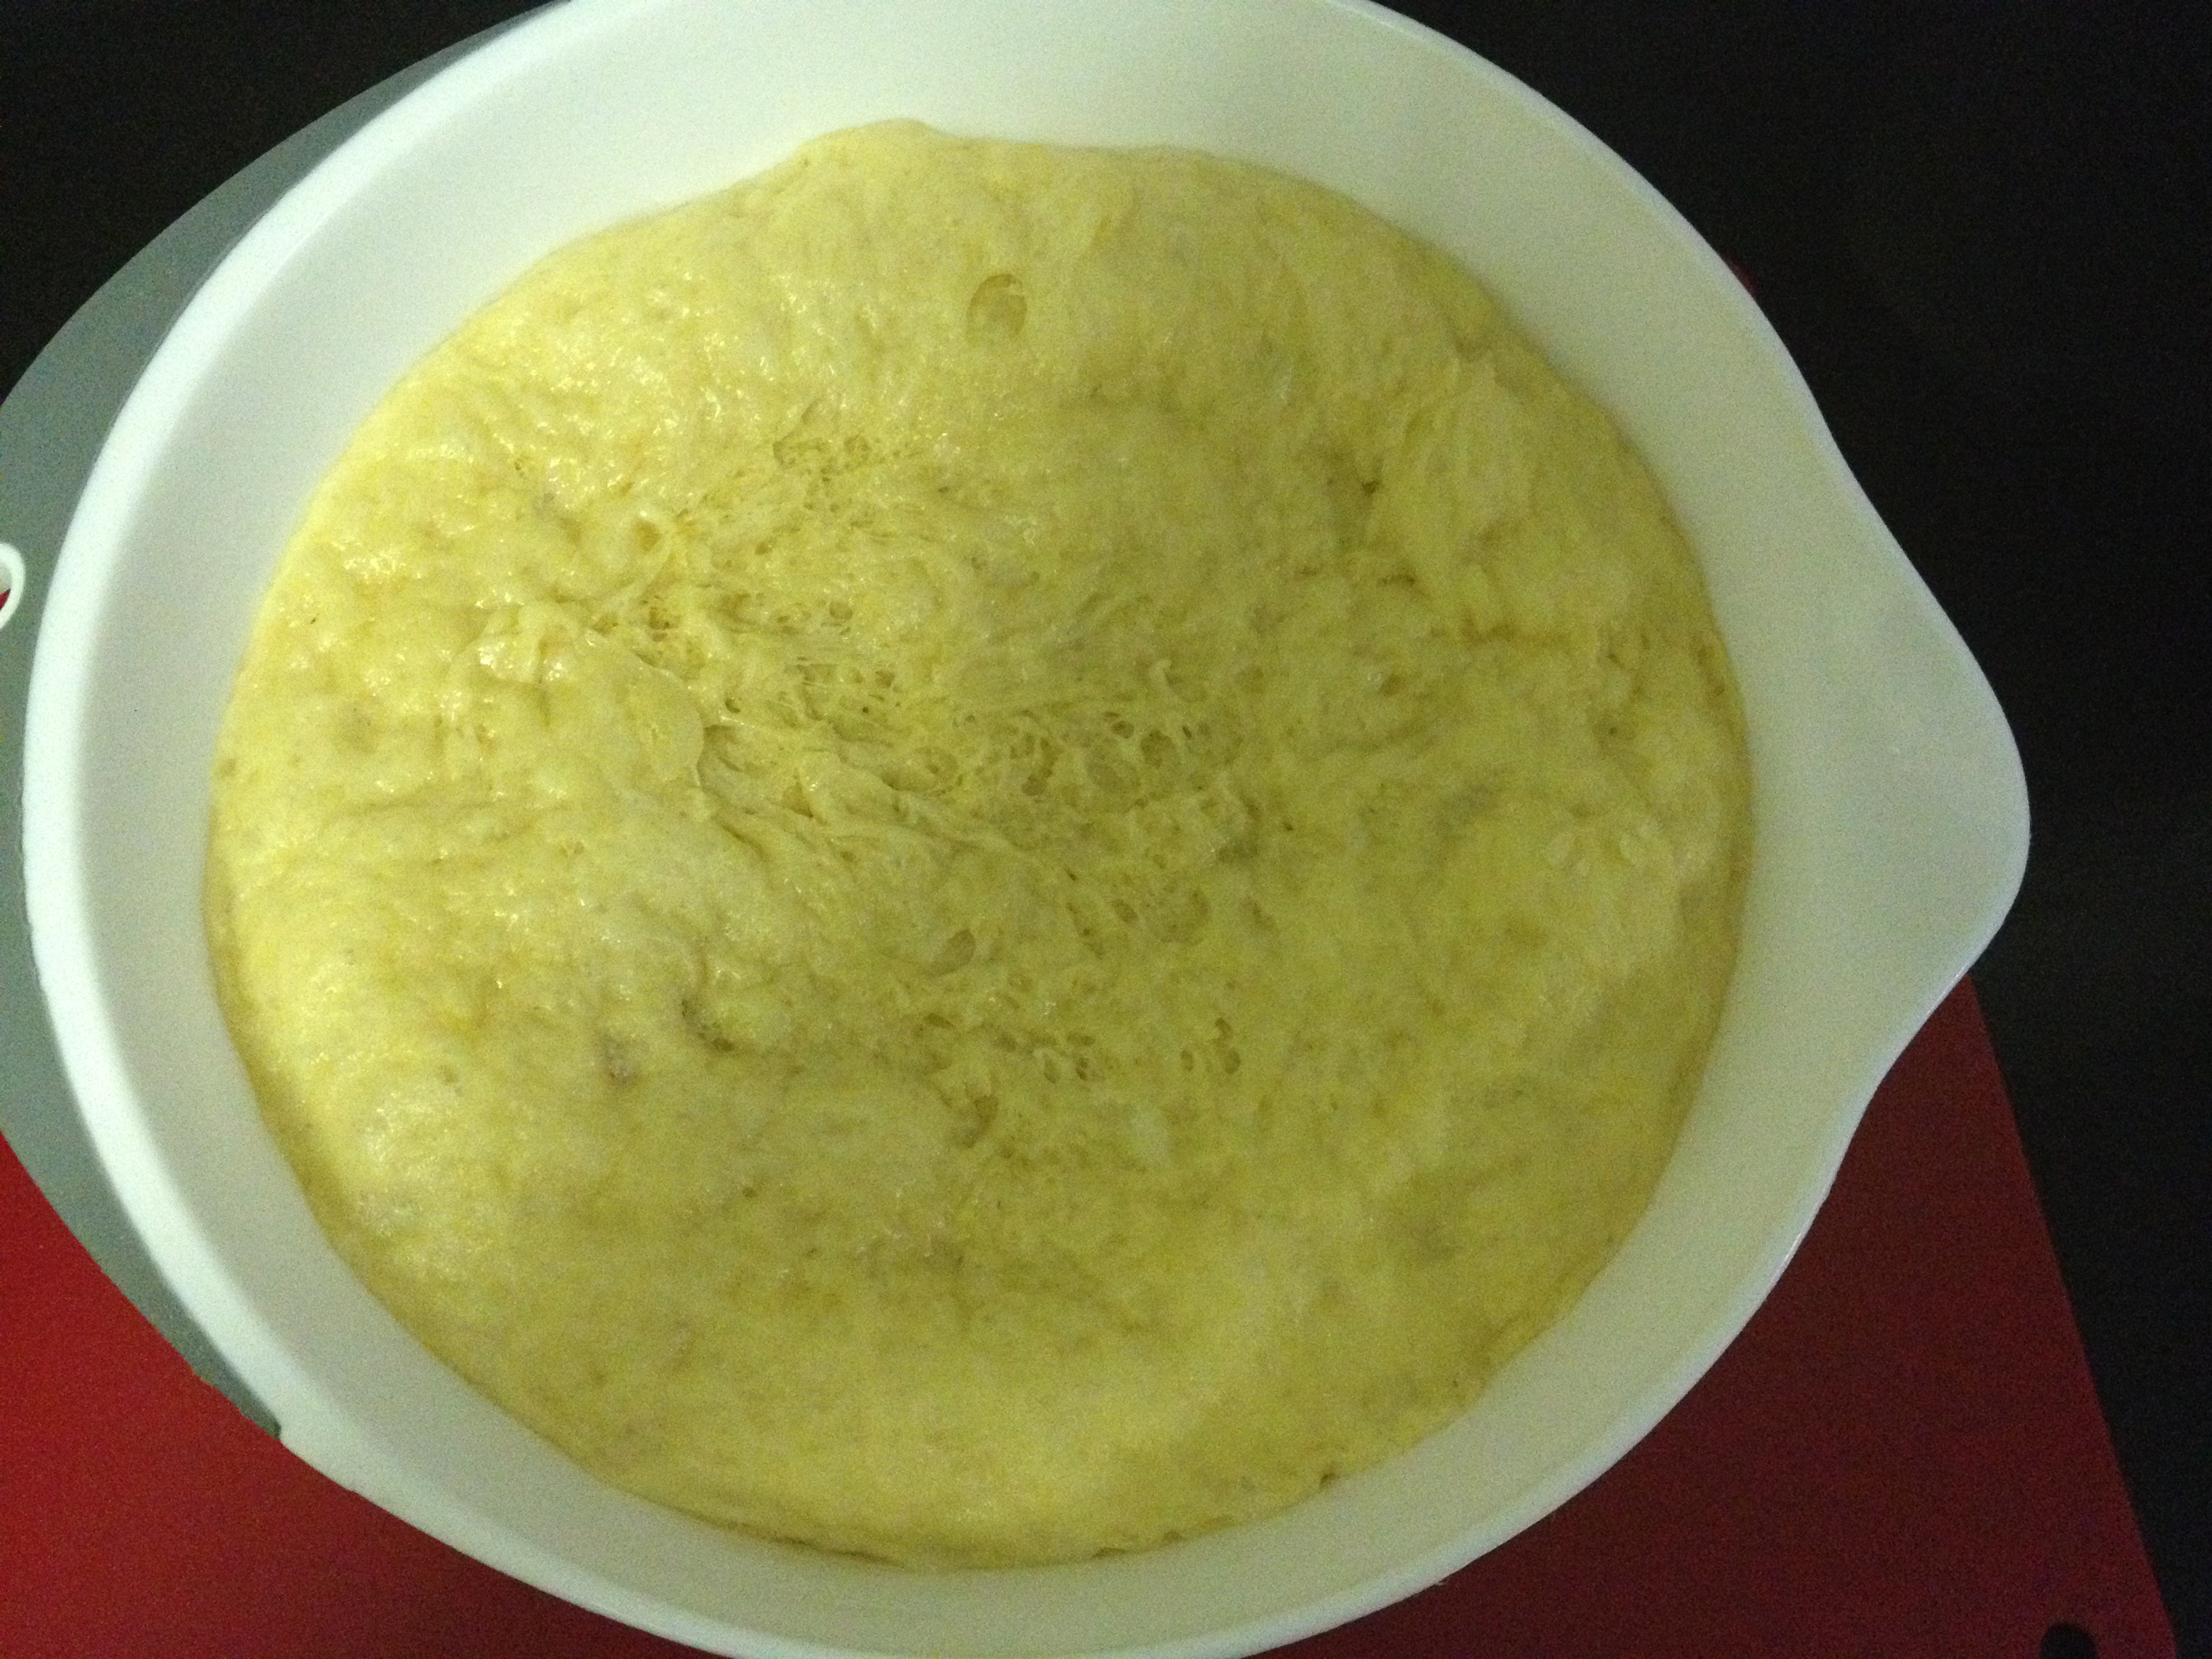 Dough rising
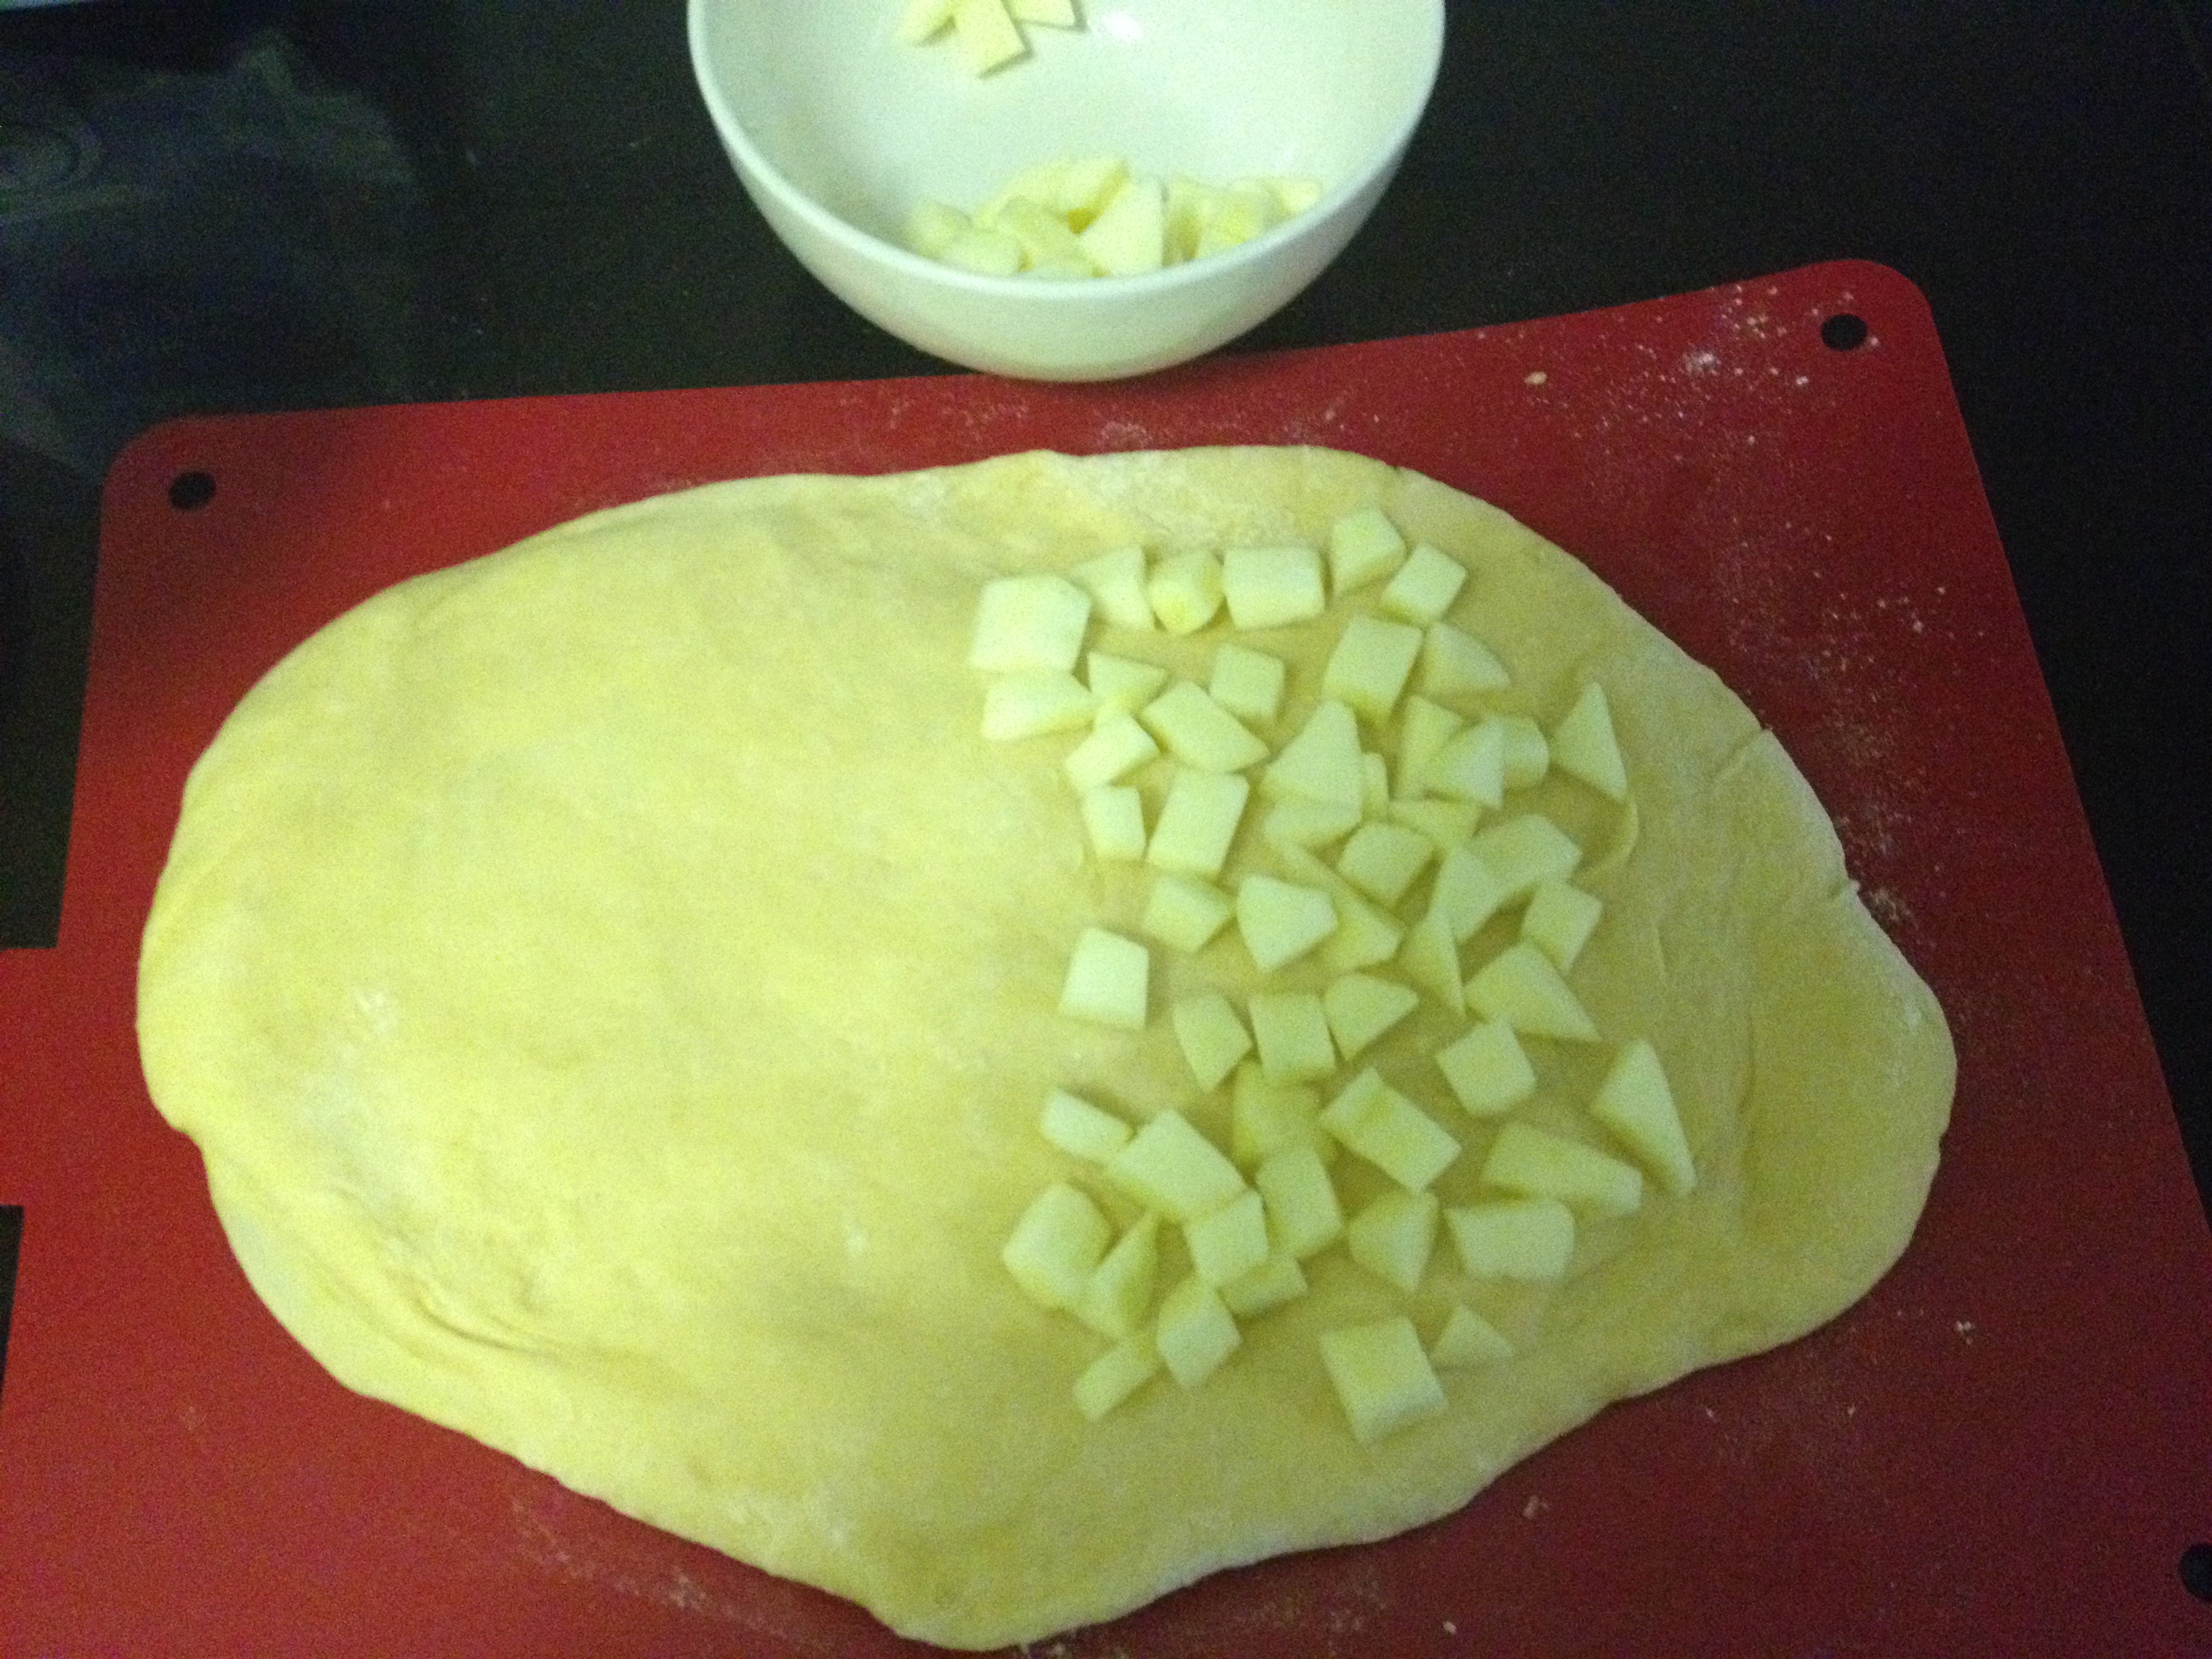 Adding apples to the dough
 Beginning of the braiding process…
 …and the end. Yeah sorry explicit photo documentation is not really my thing. That’s what Smitten Kitchen is for.
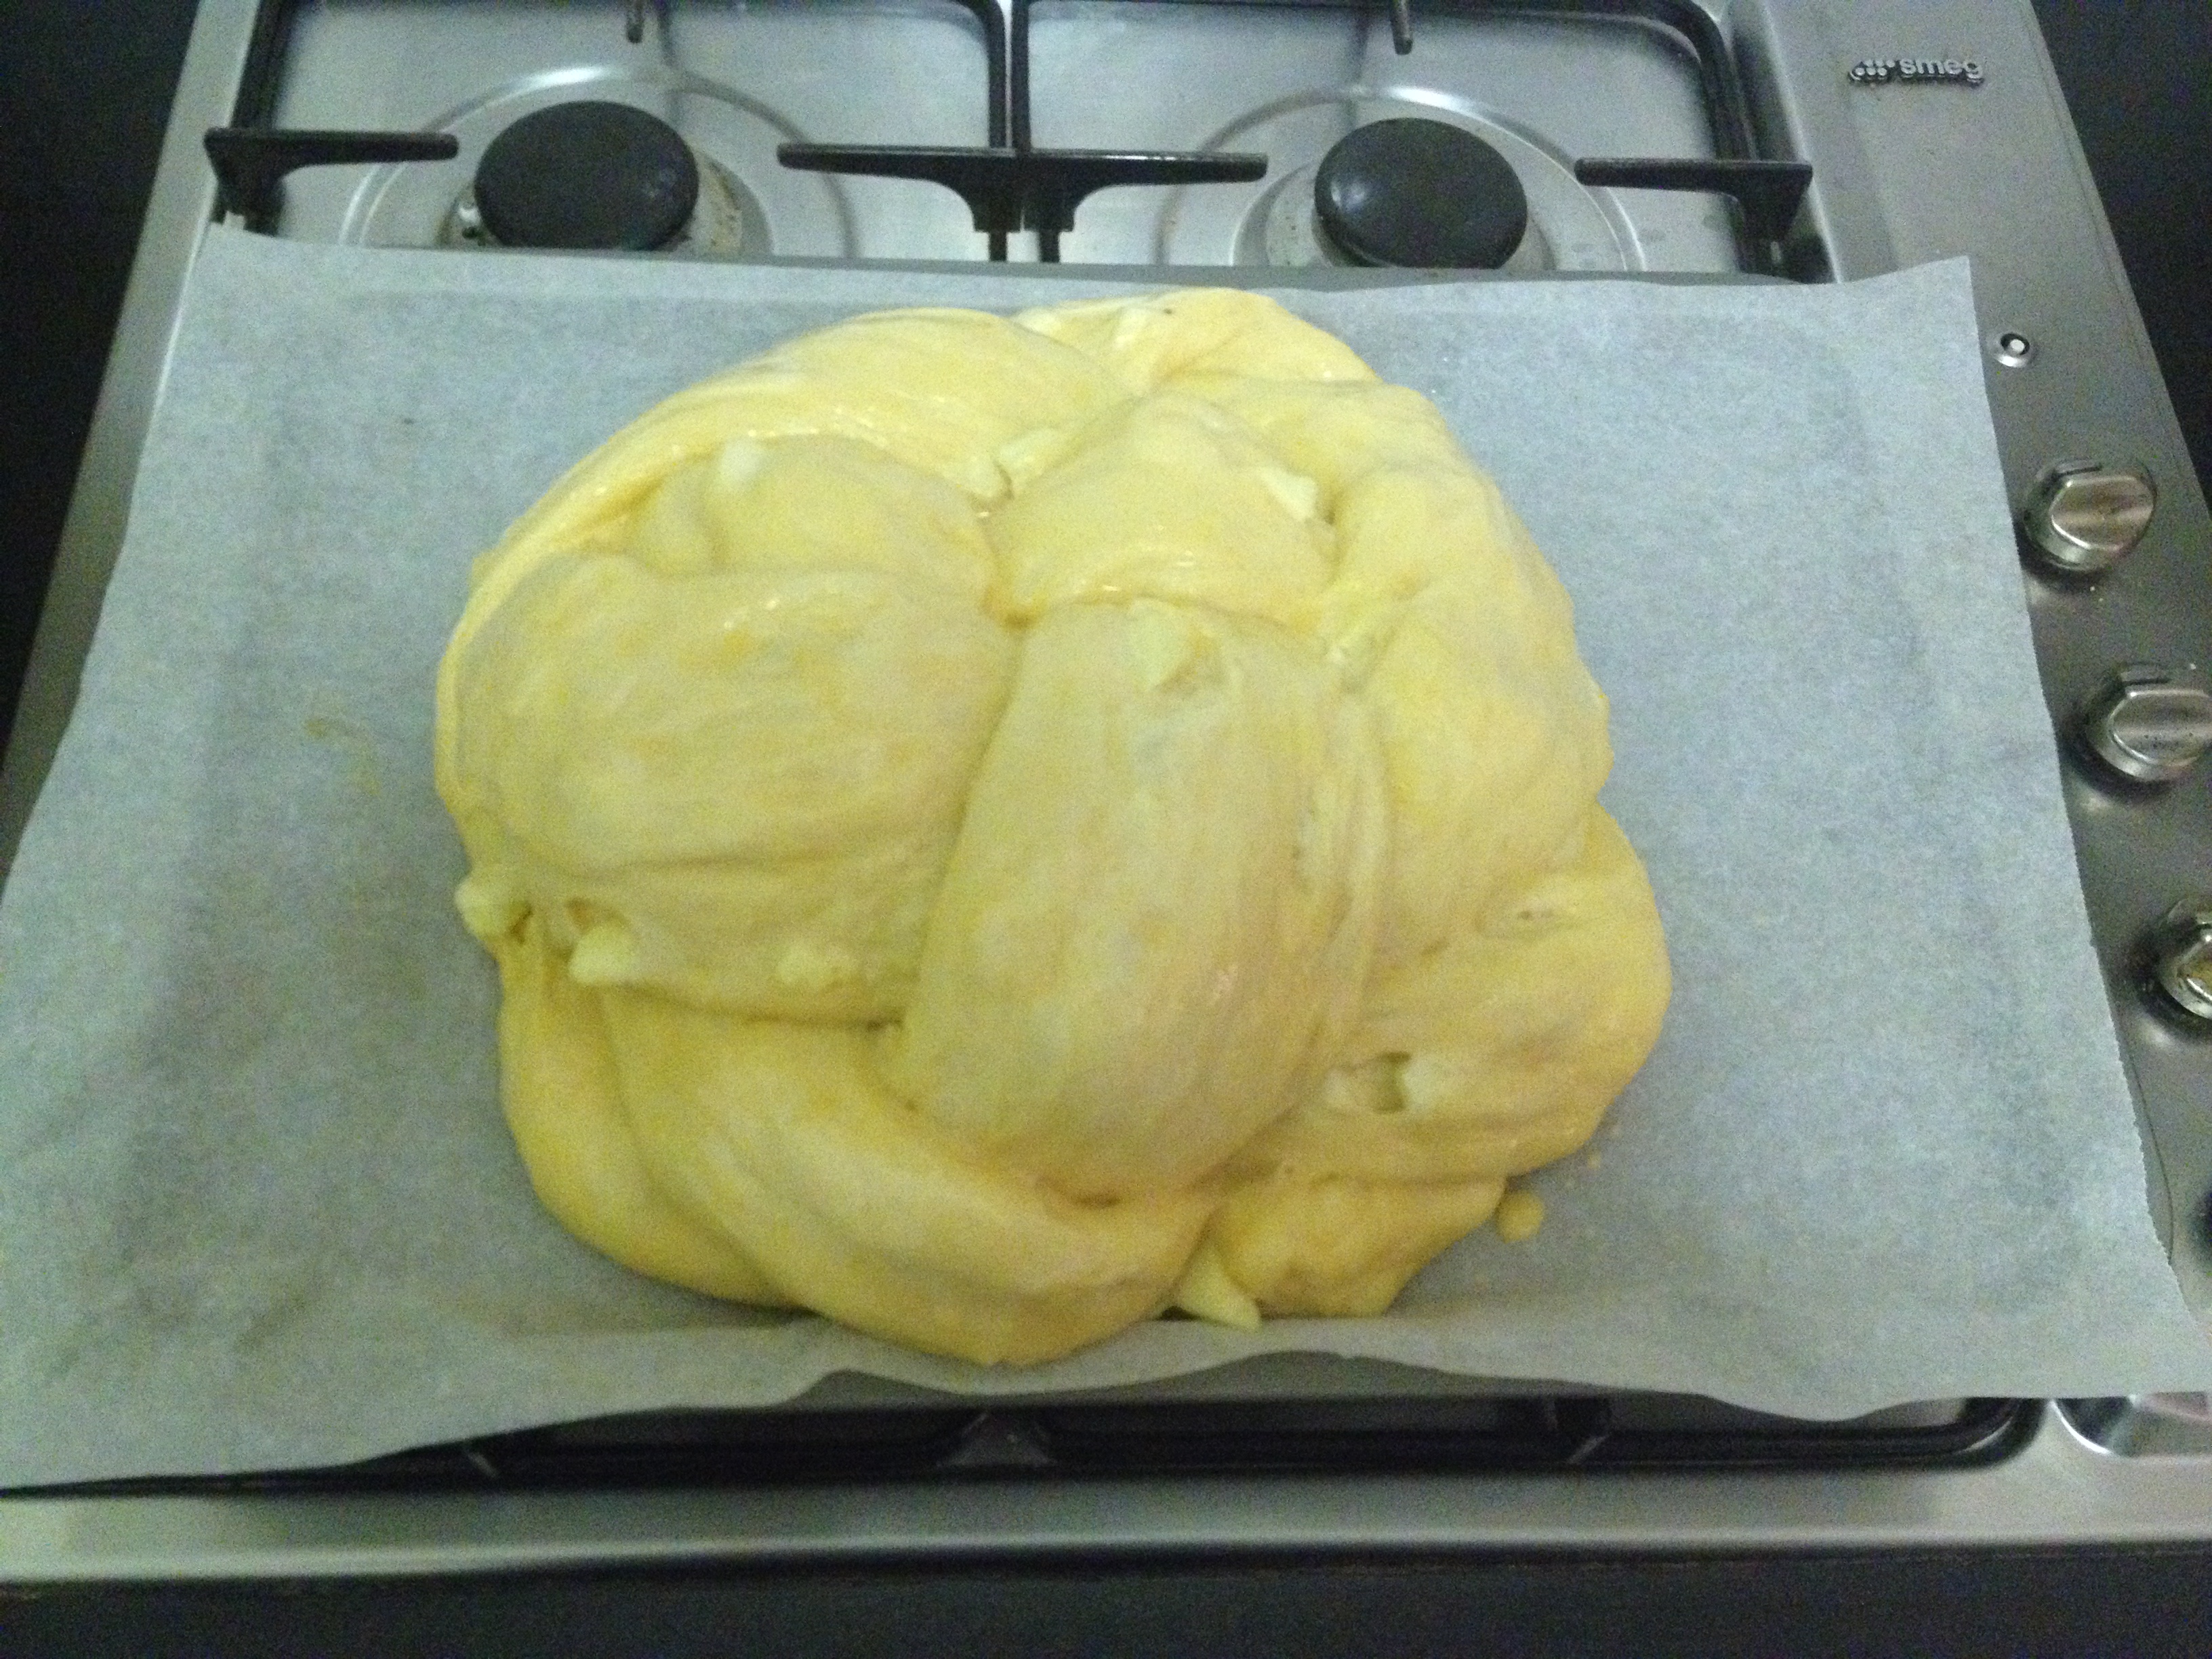 Placing the loaf on the baking sheet
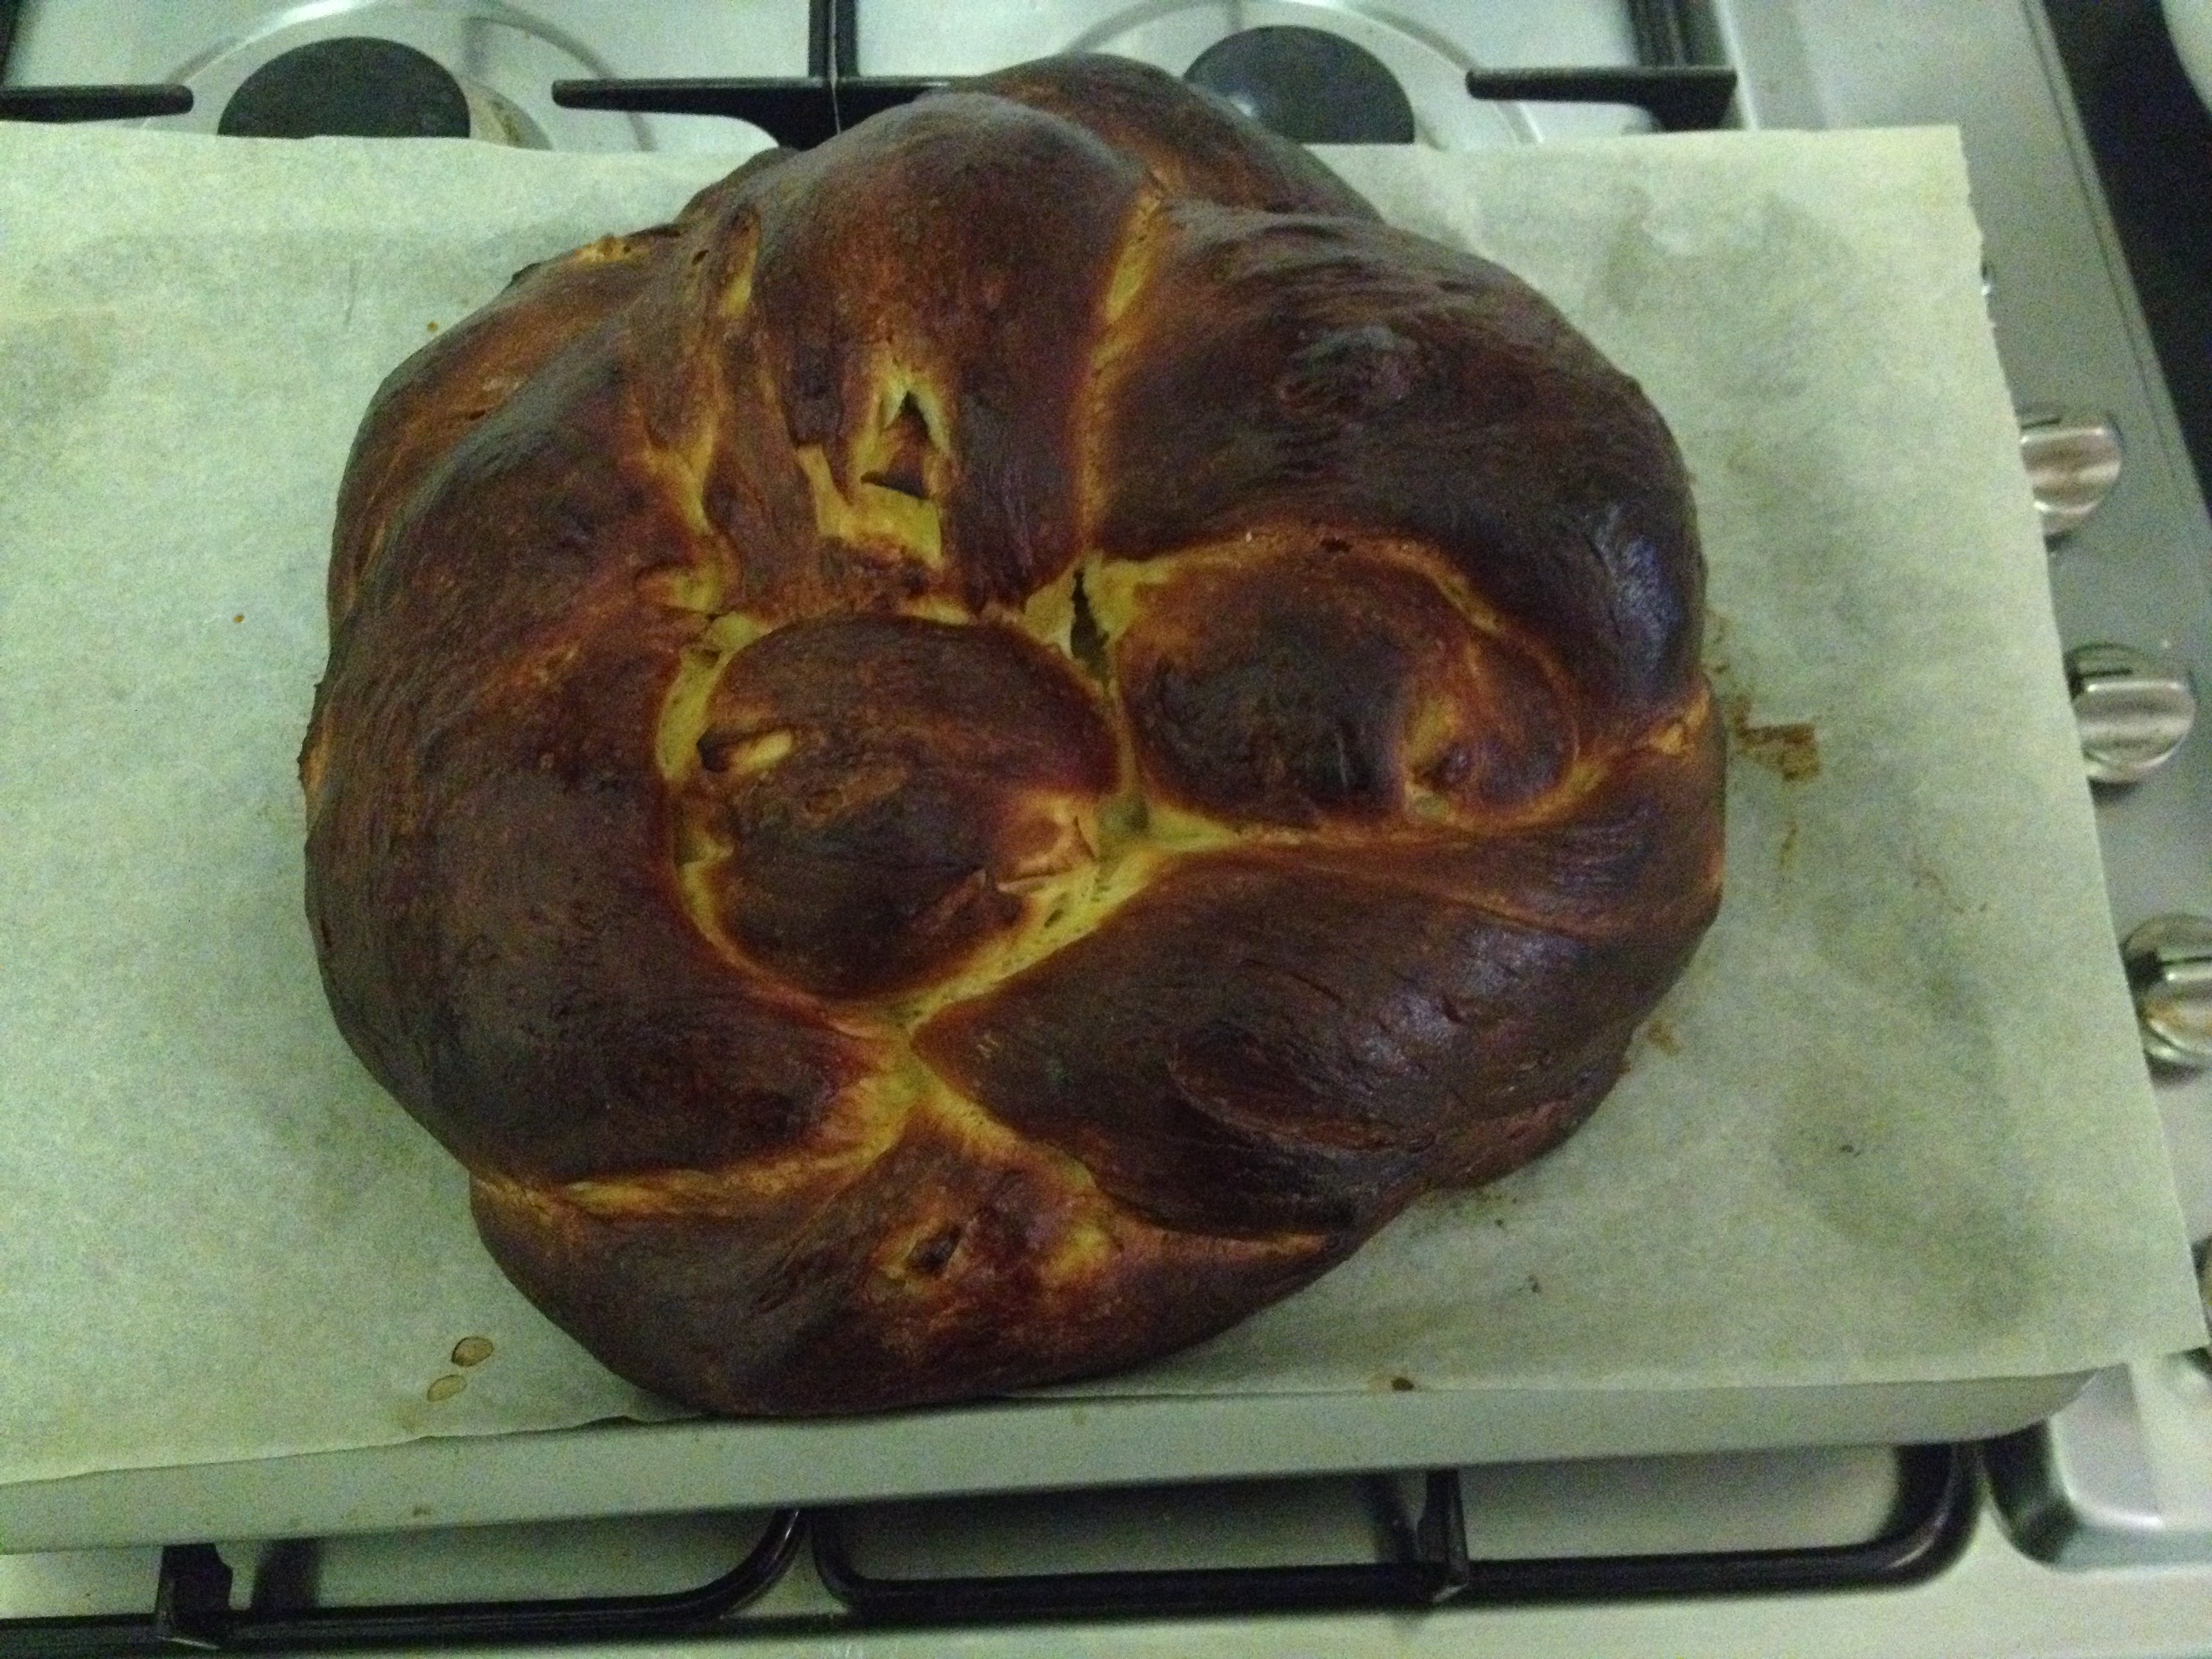 All done! As you can see, it’s just a bit too browned – I was pissed at my oven. It still tasted fine of course but make sure to watch it and once it’s golden cover it with foil!
I’m quite eager to make this again in my mother’s far less temperamental oven when I return from my trip to Asia. There’s just something about a loaf of warm bread that makes everything right with the world, at least temporarily. If you’ve made challah before and want to take your bread to the next level, this is without a doubt the recipe for you!
One year ago I was apparently updating this blog far more frequently than I currently am…check a few of these out if you want some recipe ideas: mini spinach and feta frittatas, chewy egg-free brownies, butternut squash galette (which I recently made again for a baby shower!), and the gorgeous chocolate and salted caramel crepe cake
