Salted caramel brownies

Salted caramel. Brownies. Two of my favourite things. So obviously, combining them is a no-brainer. When I saw this recipe on Smitten Kitchen, perhaps the most beautiful food blog of them all, I knew I had to make them ASAP. The effort involved is a bit more than for just regular brownies, but since regular brownies honestly only take about 10 minutes to prepare, why not add in an extra little step of making your own caramel to put in them? I have made caramel before for the salted caramel chocolate crepe cake, but the process of making this caramel involves just putting sugar in a pot and letting it melt, which I just thought was ridiculously cool.
The caramel itself is delicious all on its own, but pair it with the chocolate and it’s basically perfection. If you’ve never made caramel before, this is a really easy recipe to start you off. The brownies are a solid recipe as well – make sure you use as dark chocolate as possible (and unsweetened if you can find it) to make them a bit bittersweet to balance out the sugar of the caramel. Don’t be intimidated by how long the directions look – it’s really not that hard and trust me, the result is WELL worth it.
Salted caramel brownies (adapted from Smitten Kitchen)
Ingredients
Caramel
1/2 cup granulated sugar
4 tablespoons unsalted butter (or salted, but then ease up on the sea salt)
Heaped 1/4 teaspoon flaky sea salt (or 1/8 teaspoon table salt, more to taste)
3 tablespoons heavy cream
Brownie
3 ounces (85 grams) unsweetened chocolate, roughly chopped – if you can’t find unsweetened chocolate, just go for the darkest chocolate you can find and go easy on the sugar (I used a little less than a cup anyway – the caramel is quite sweet so I didn’t want the brownies to be over-sweet)
1 stick (4 ounces or 115 grams) unsalted butter
1 cup (200 grams) granulated sugar
2 large eggs
1 teaspoon (5 ml) vanilla extract
Heaped 1/4 teaspoon flaky sea salt or 1/8 teaspoon normal table salt
2/3 cup (85 grams) all-purpose flour
First, make the caramel: Set a square of parchment paper over a medium-sized plate. Lightly butter or coat the parchment with a spray oil, just as an added security measure. If you have a tiny freezer and can’t fit a plate in it or something, you can just put the caramel on the parchment paper itself.
In a medium, dry saucepan over medium-high heat, melt your sugar. This was an incredible process to me as I’ve never done this and it’s just kind of magical to watch it turn into caramel before your eyes. It will melt and become a liquid and a nice copper colour. Stir it if necessary to break up large chunks. Cook it until it is the copper colour and smooth and melted – it should take about 5 minutes. Remove from heat and stir in butter. It may not incorporate entirely but do your best. Then stir in cream and salt and return saucepan to the stove over medium-high heat, bringing it back to a simmer and melted again any sugar that solidified (which mine definitely did). Cook bubbling caramel for a few minutes more, until it is a shade darker.
Pour out onto parchment-covered plate and transfer plate to your freezer. Freeze until solidified, which will take at least 20 minutes.
In the meantime make the brownies: Preheat oven to 180 C / 350 F. Line a square baking pan with parchment and spray it lightly with nonstick cooking spray.
Melt the chocolate and butter together either in a microwave or in a double boiler. if you’re doing it in a microwave, be careful as you don’t want it to burn, so do it in 30 second bursts. When it’s almost all melted, take away from the heat and stir until completely combined. Mix in sugar, then eggs, one at a time, then vanilla and salt. Finally fold in the flour.
When the caramel is firm, assemble your brownies. Remove the caramel from the freezer and chop or break into little squares. Gently fold all but a small amount of caramel bits into batter. Scrape batter into prepared pan, spreading until mostly even. Scatter remaining caramel bits on top. Bake for 30 minutes, until a toothpick inserted into the centre comes out clean. Check before the 30 minutes are up though! You want to catch them at that ideal moment when the toothpick becomes clean.
Cool thoroughly — a process that can be hastened in the freezer, which will also produce cleaner cuts — and cut into squares. Obviously I am not judging you if you sneak tastes while they are still warm.
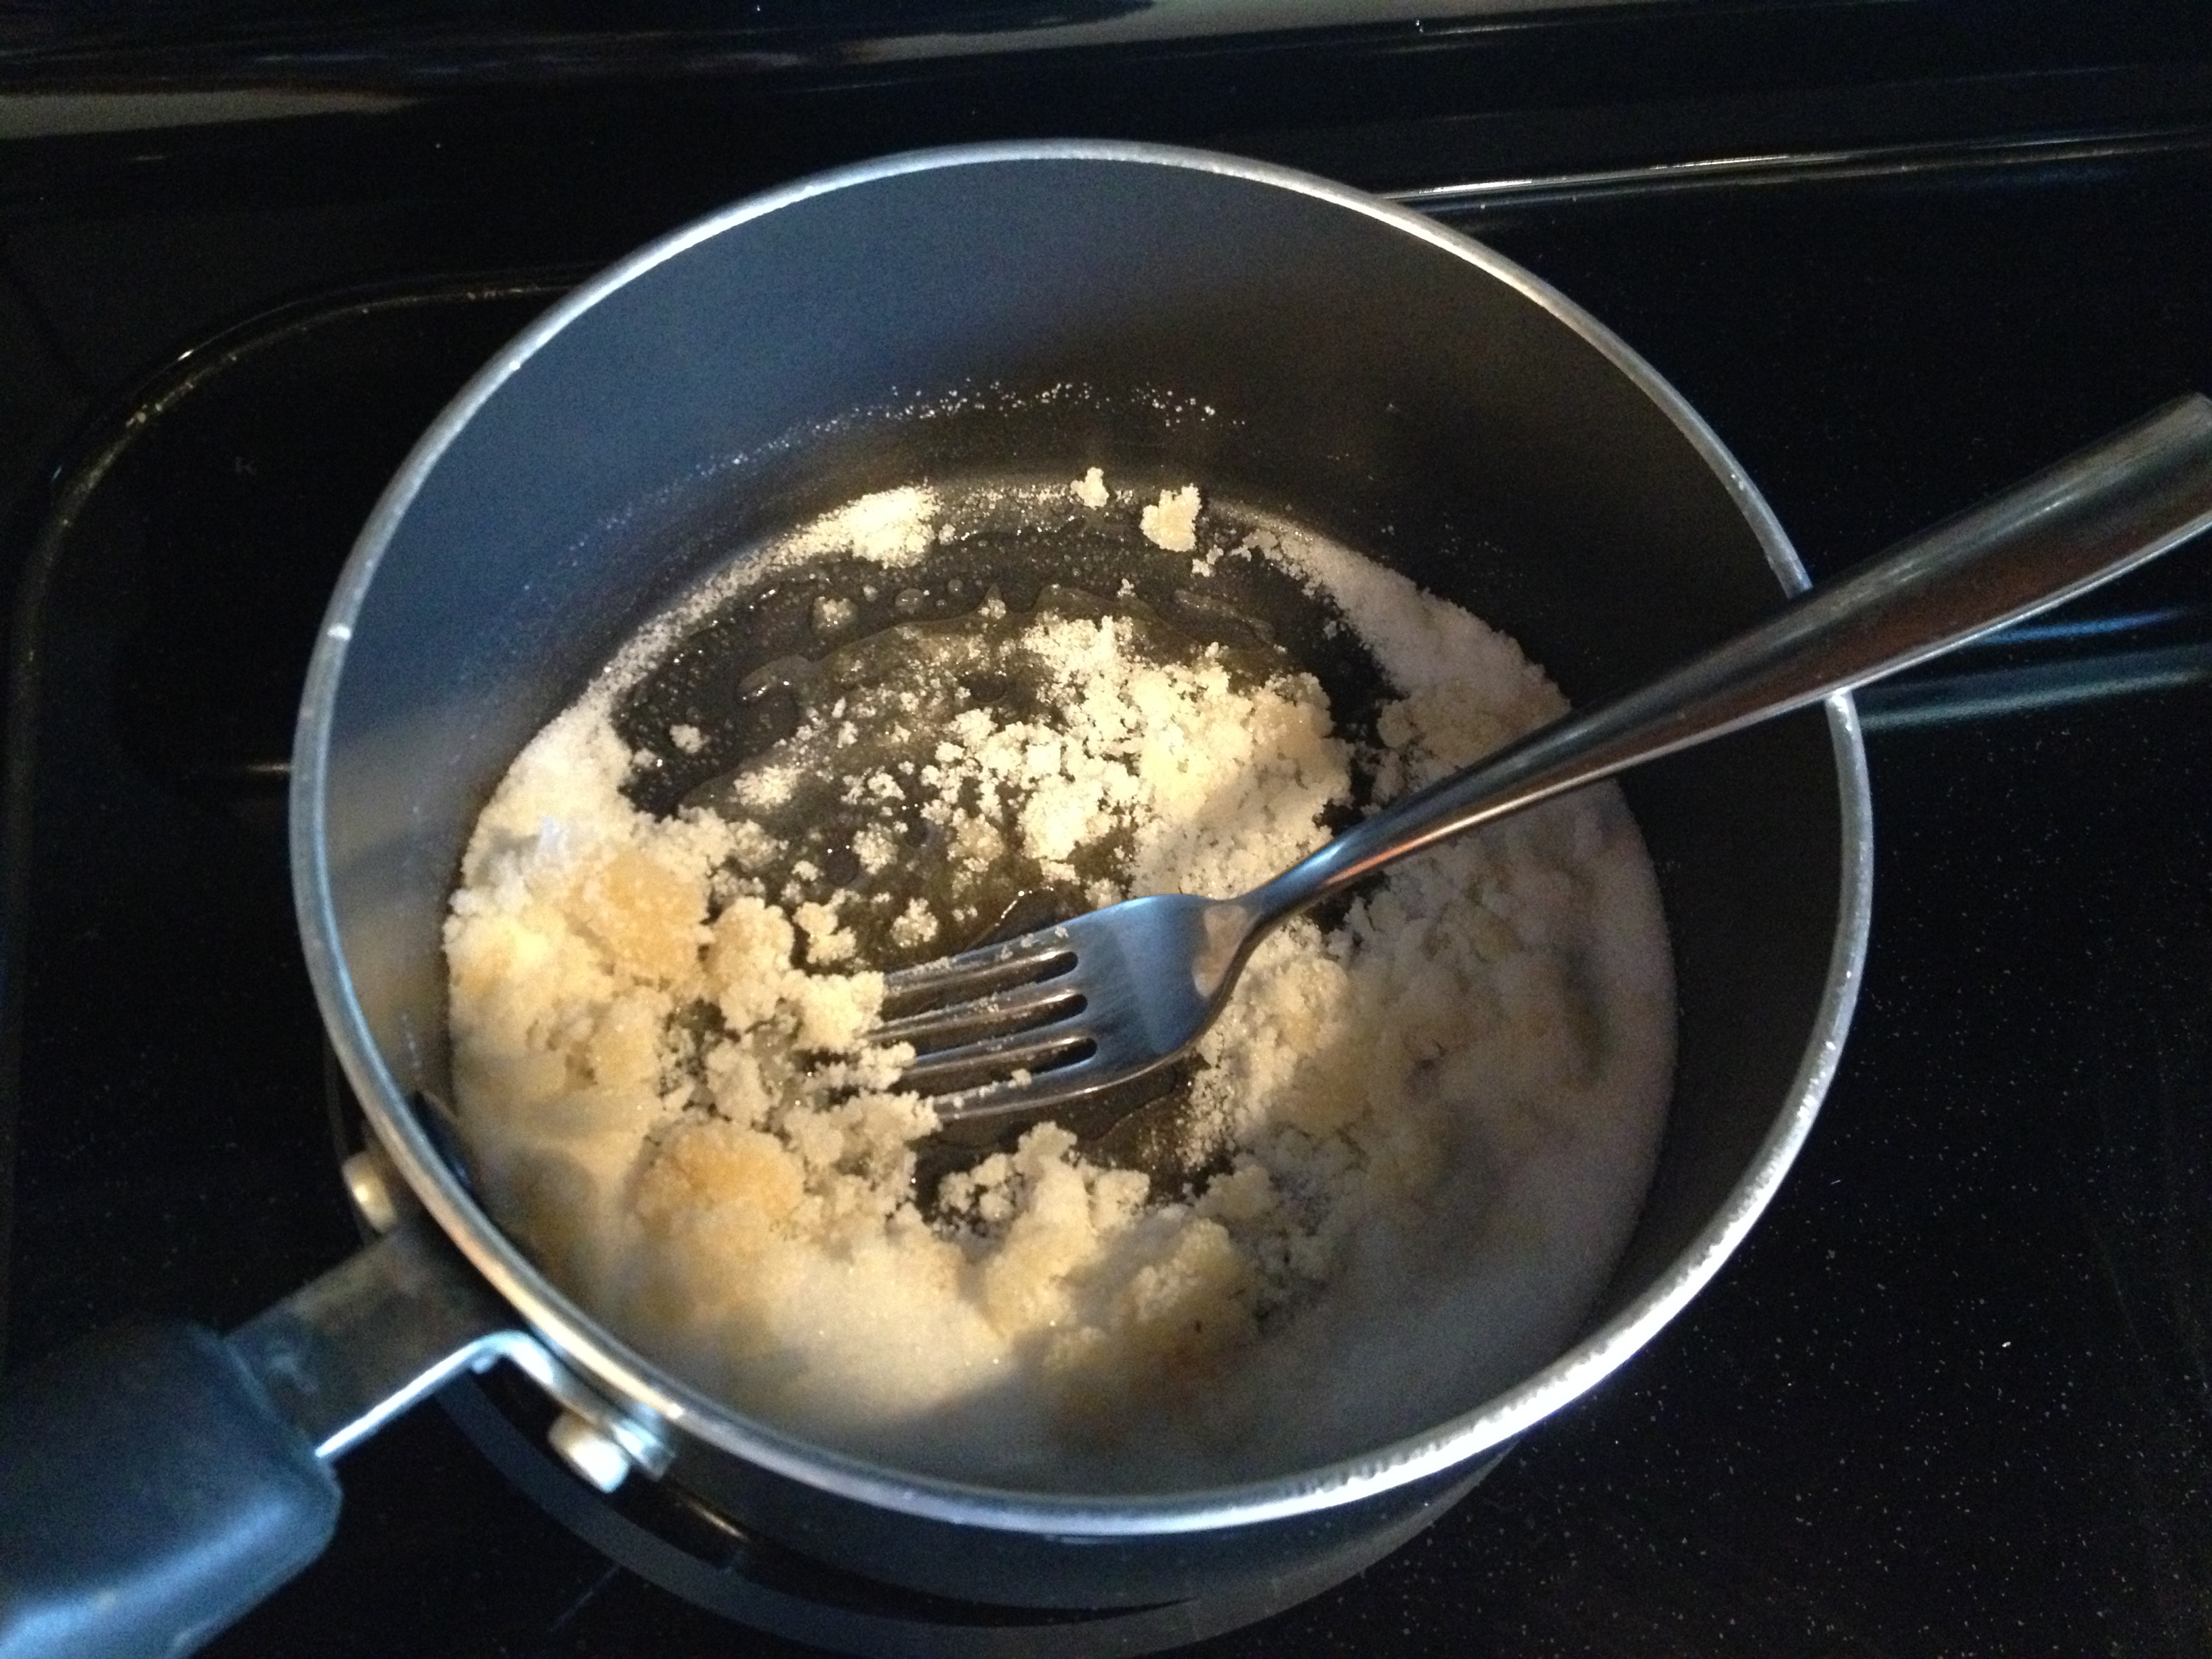 Melting the sugar – this entire process amazed me
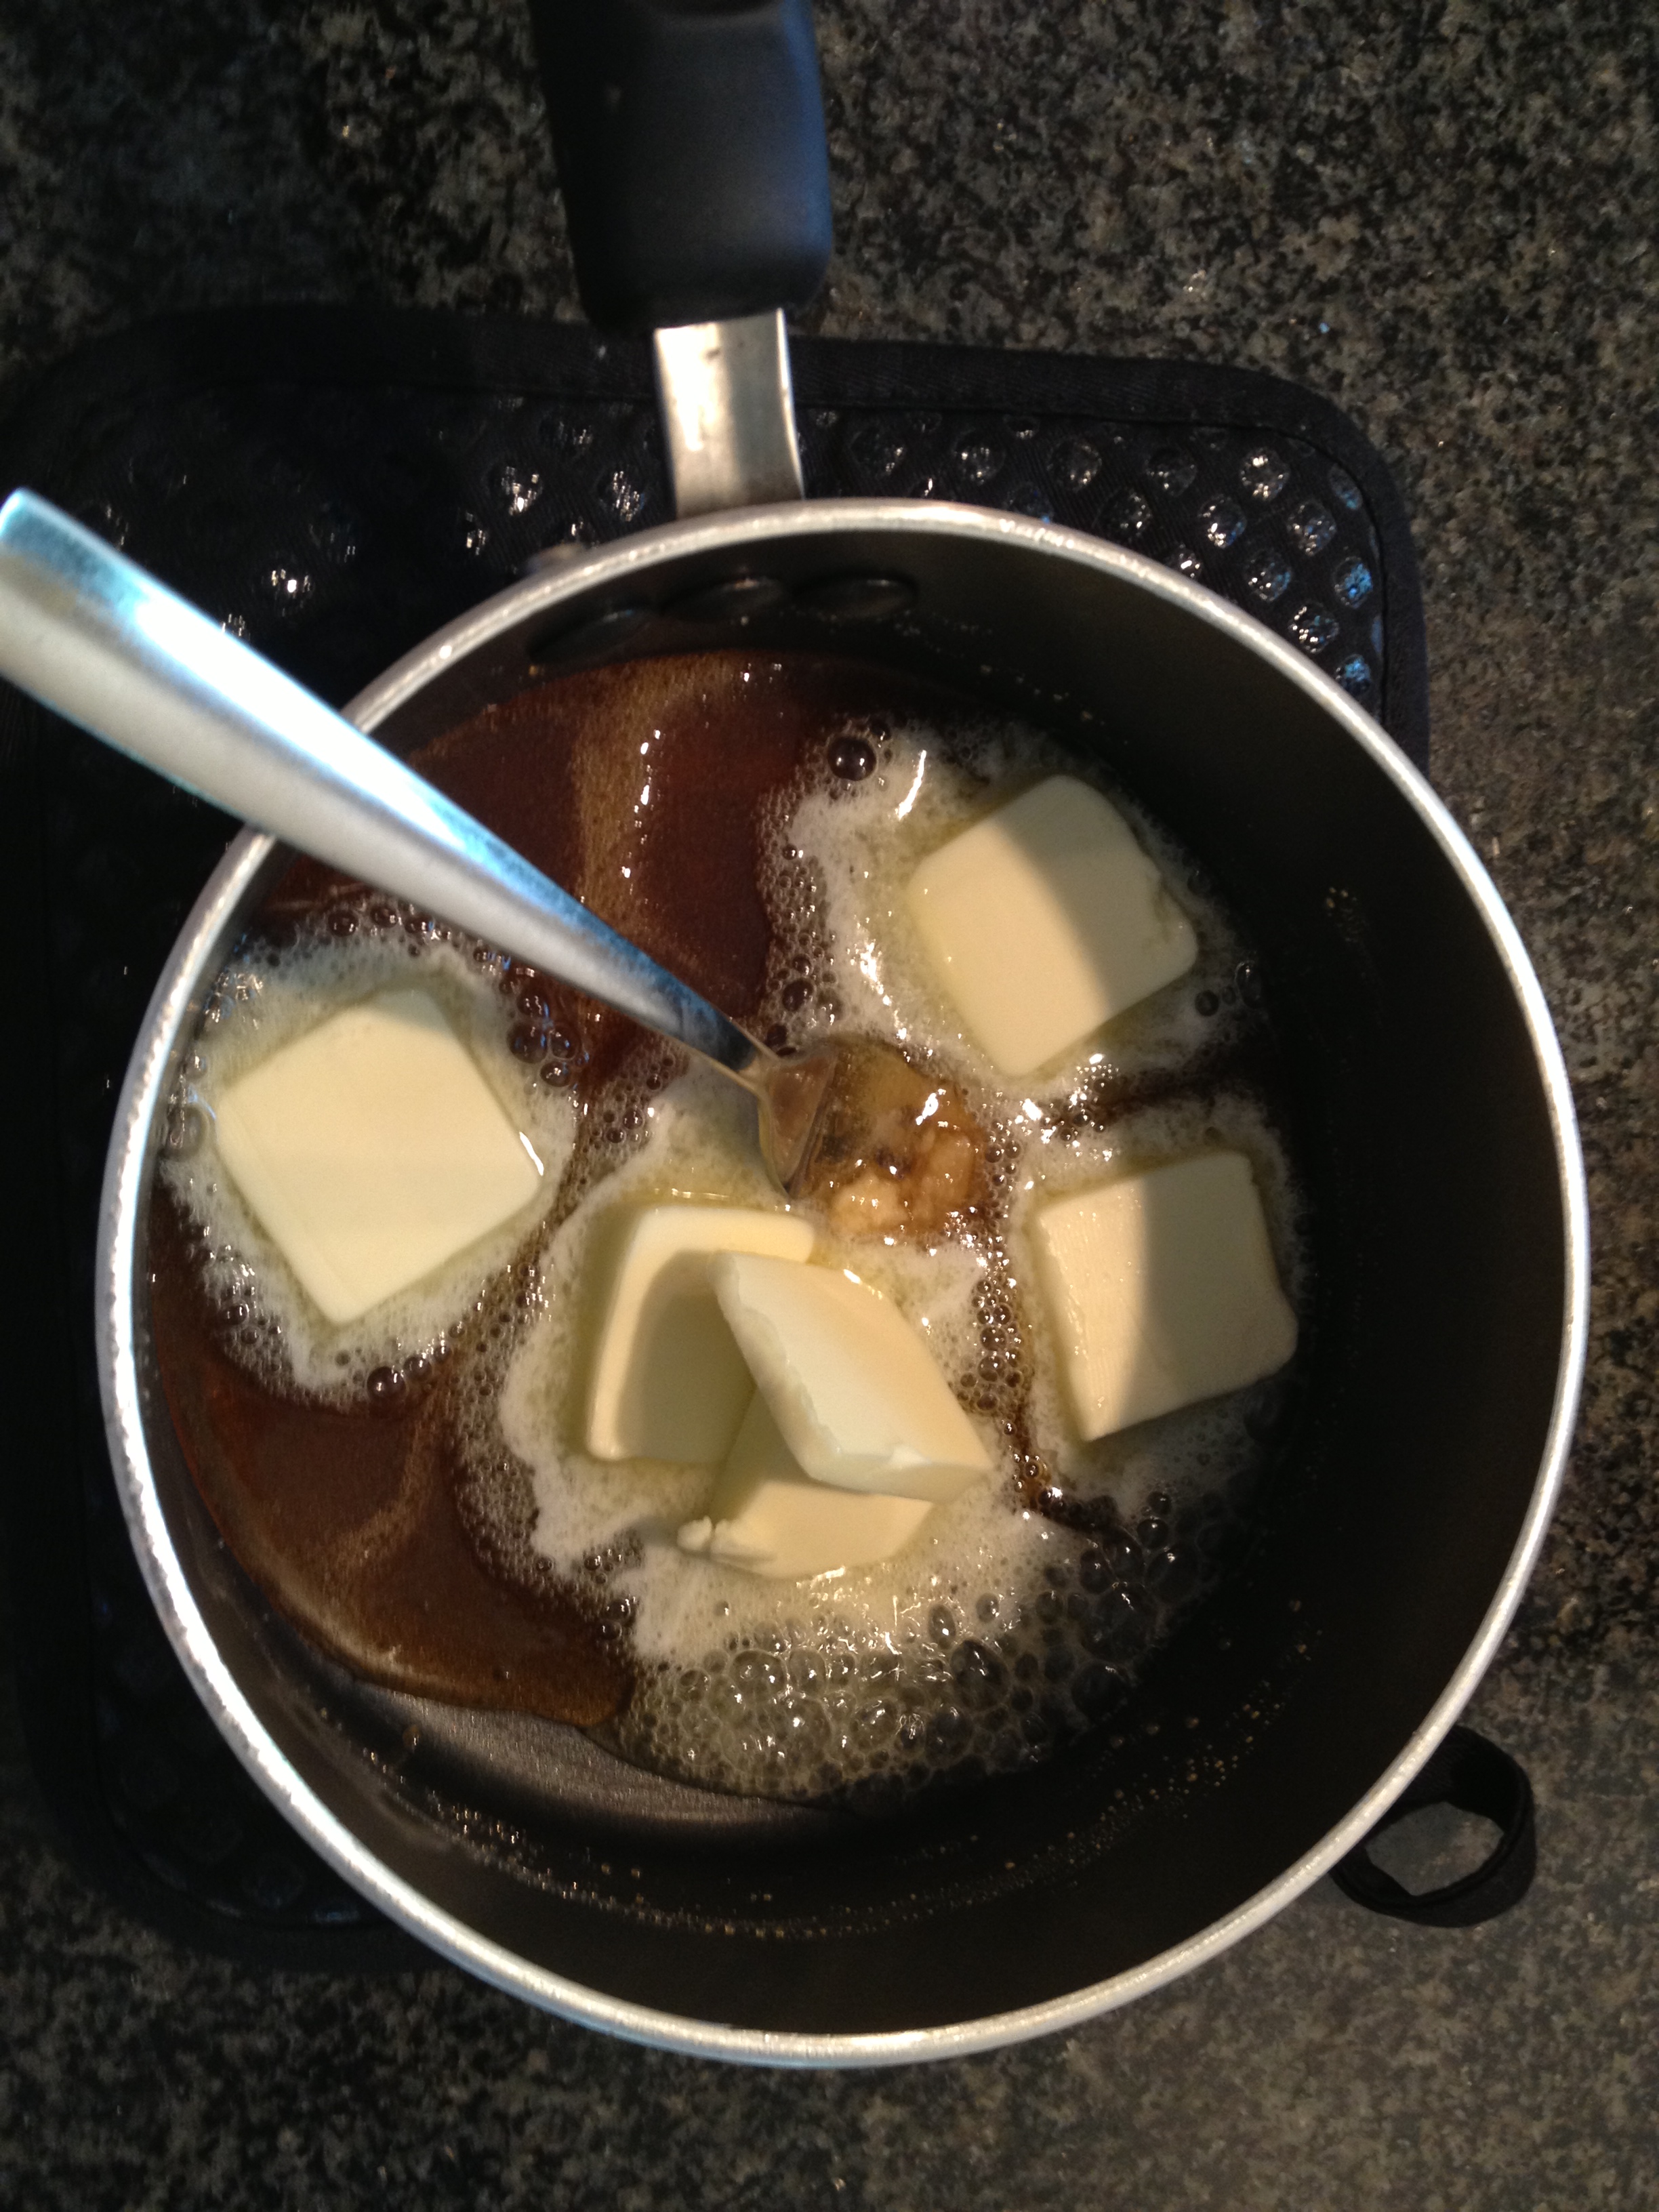 Removing from the heat and stirring in the butter
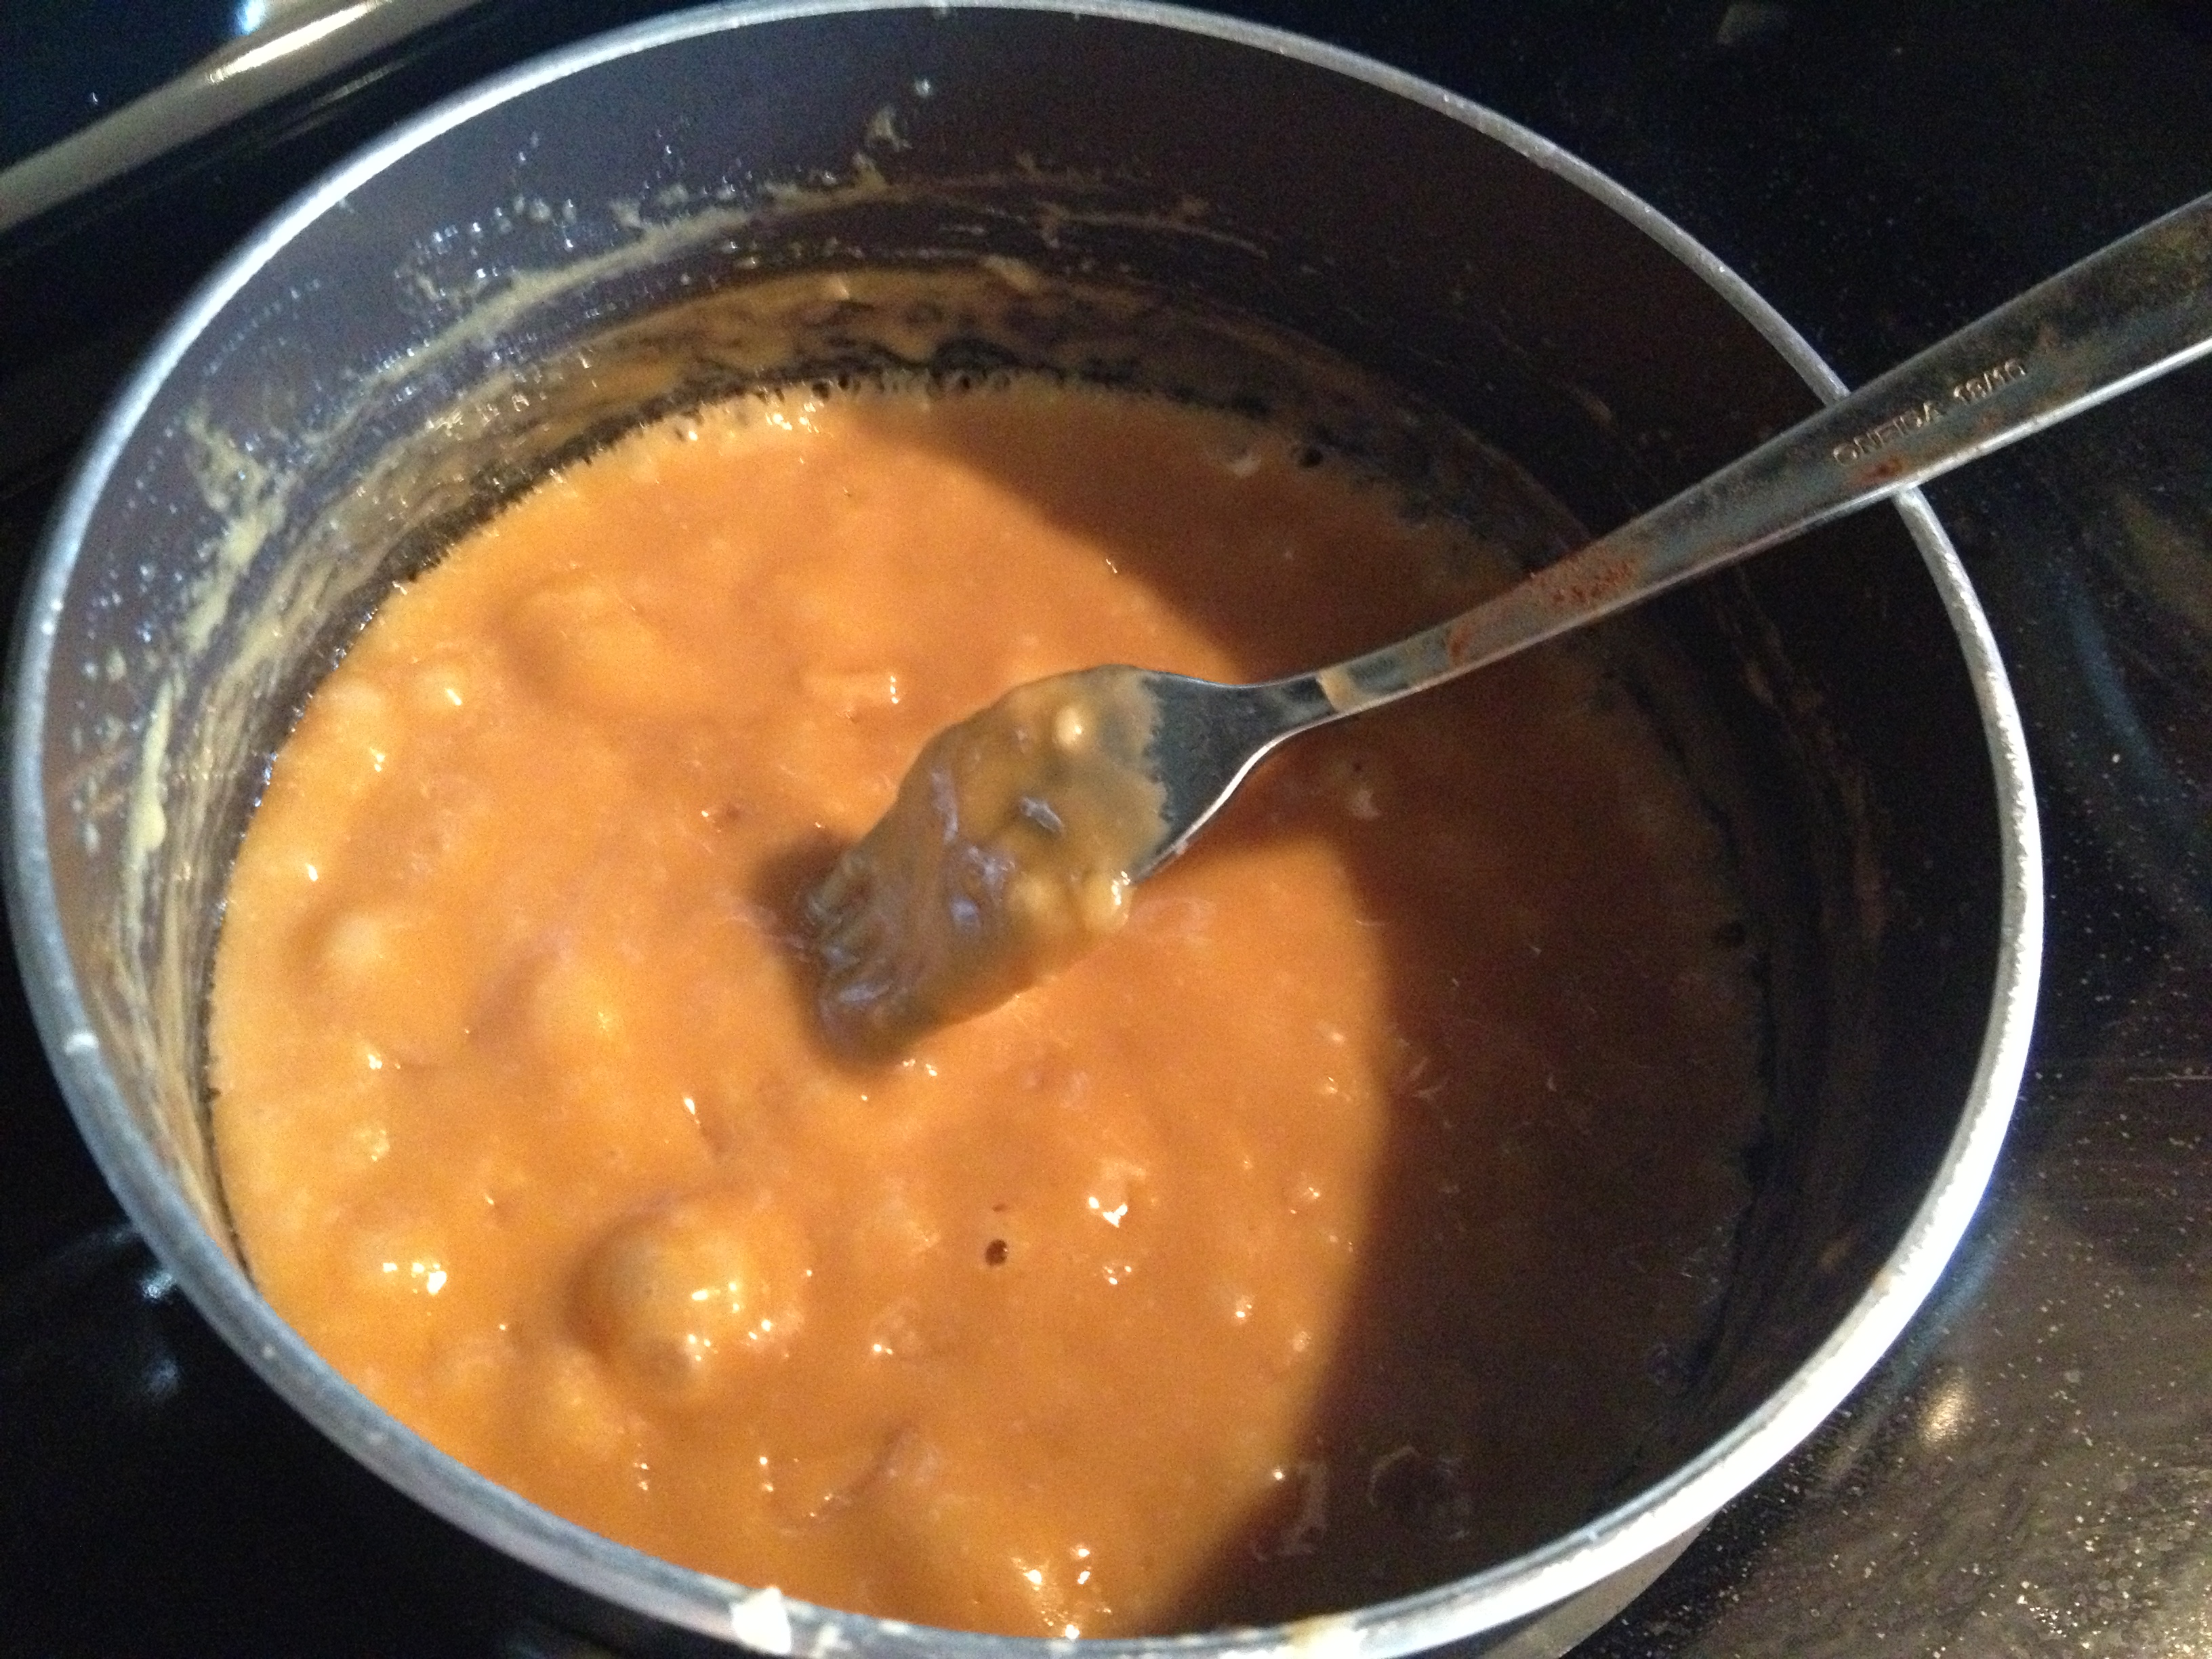 Back on the stove stirring in the cream and re-melting the whole thing until it bubbles and combines
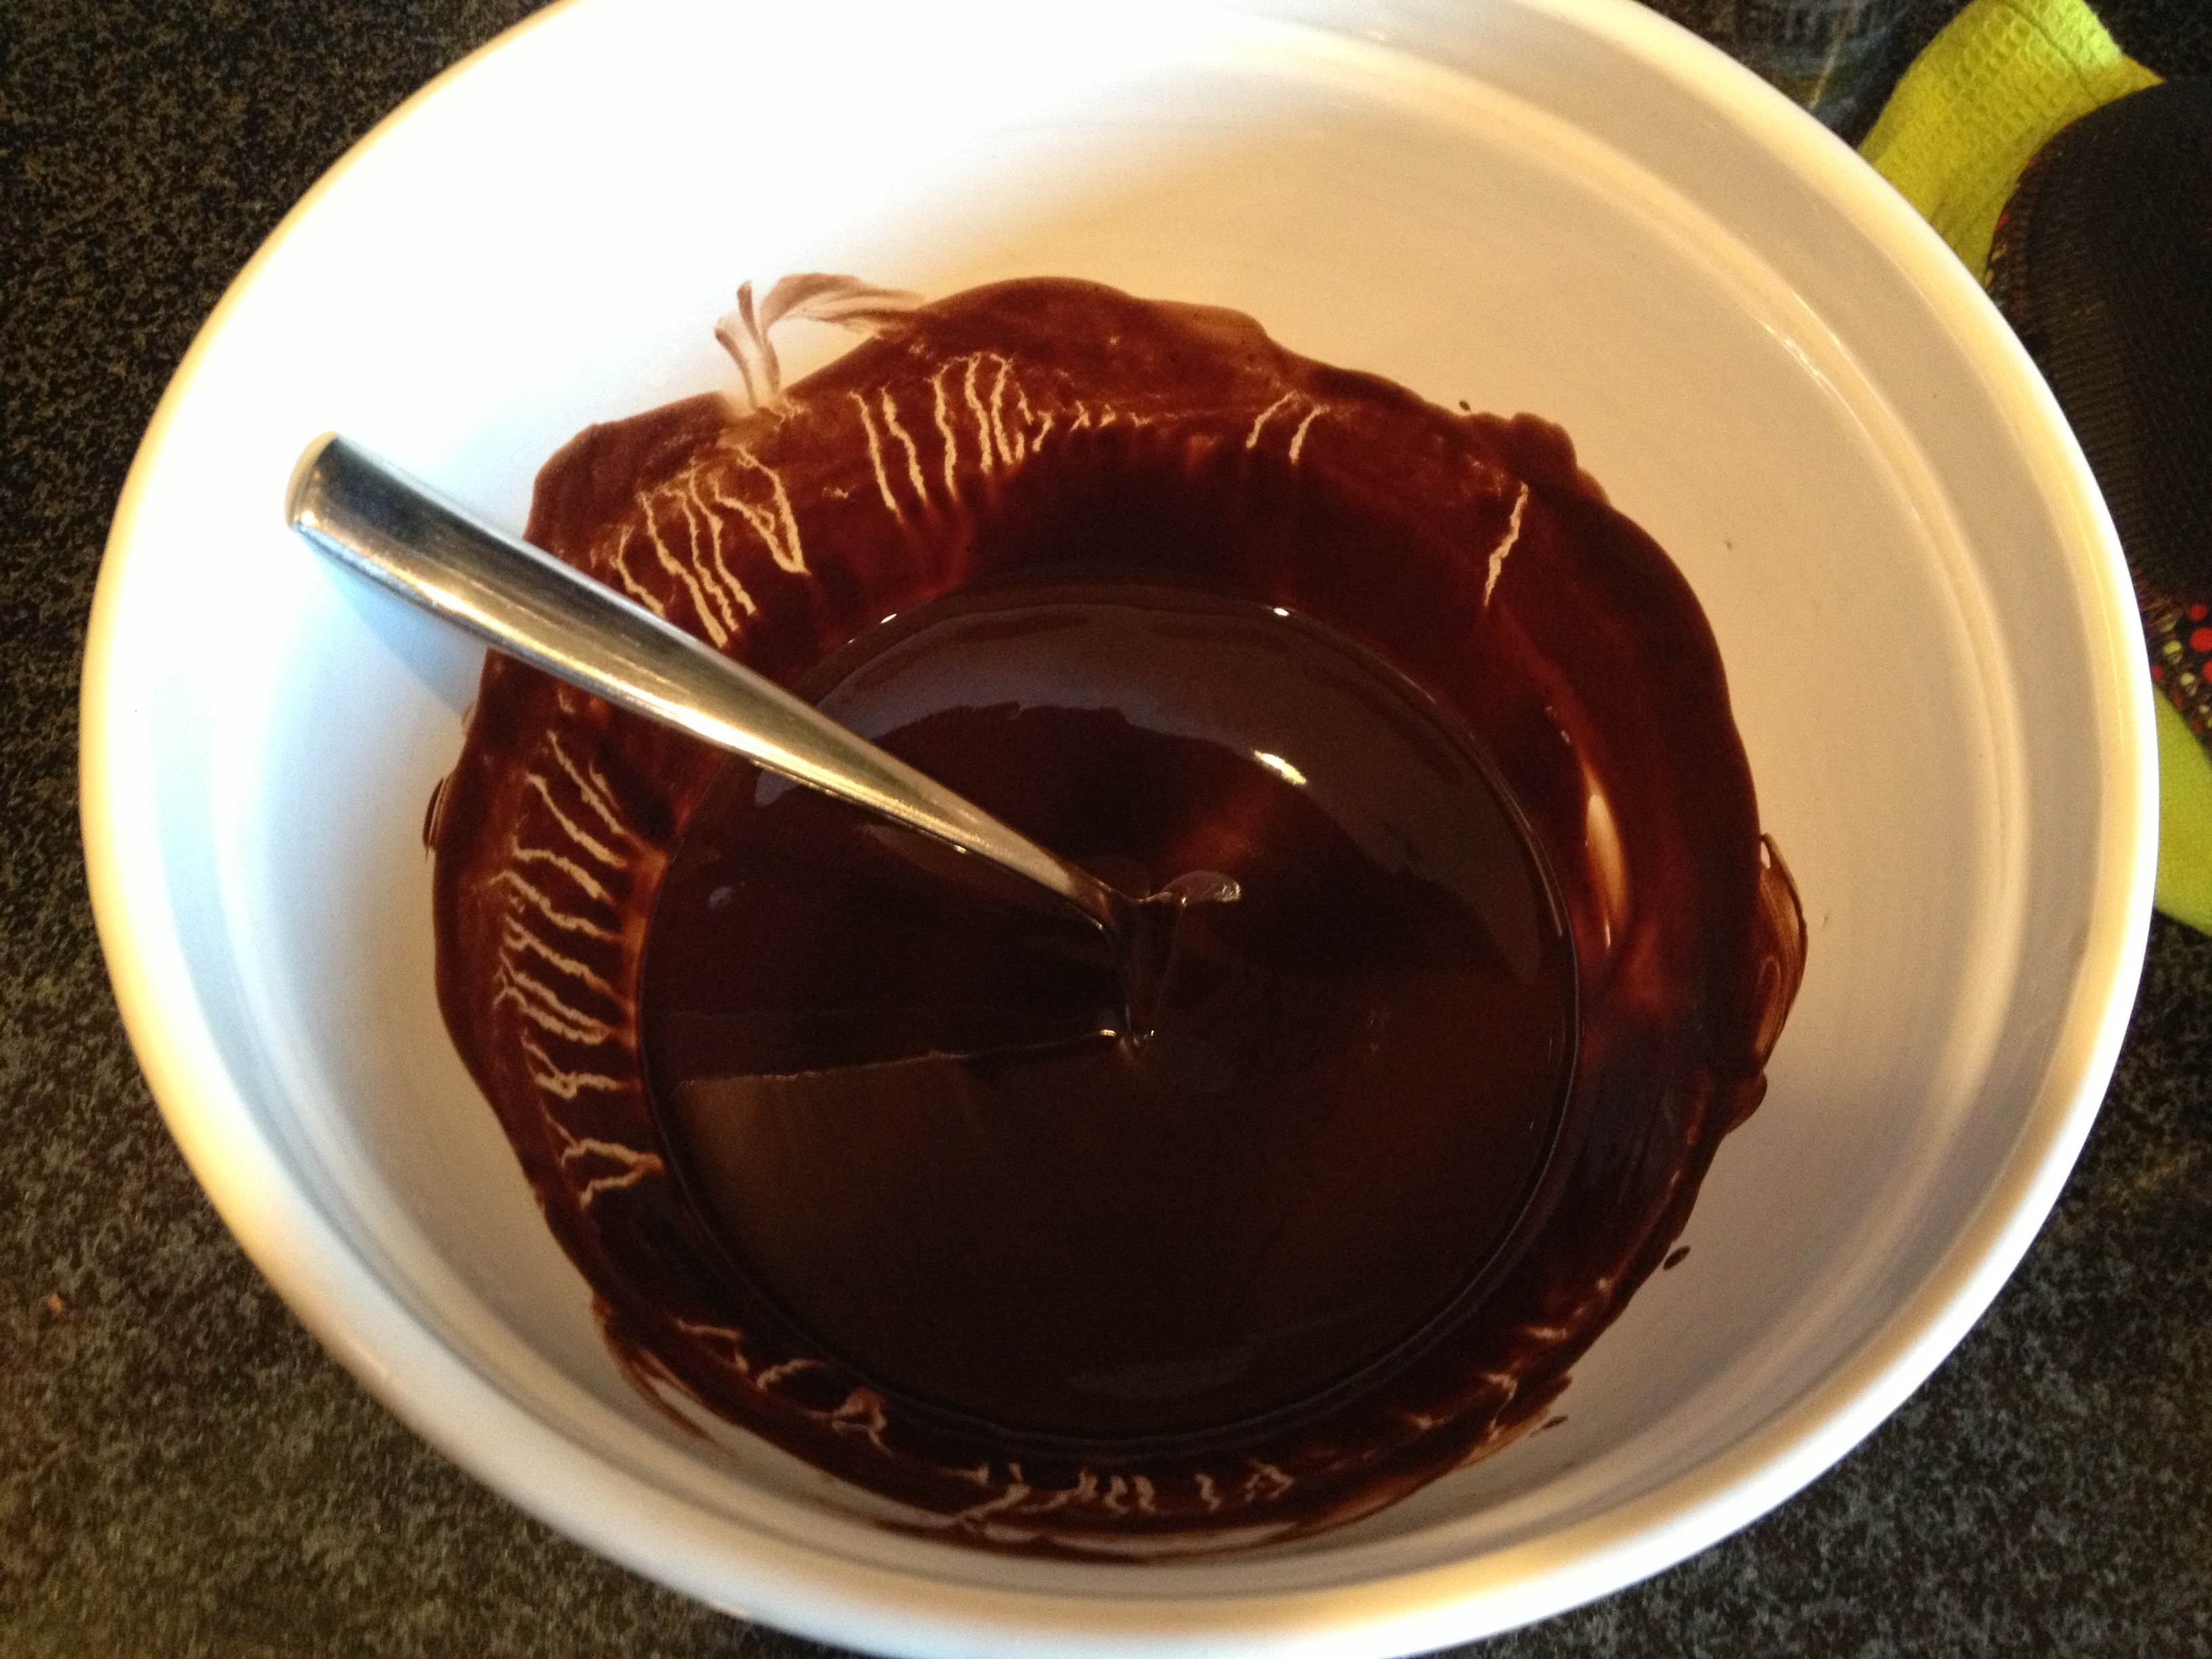 Melted chocolate and butter – the base for any good brownie obviously
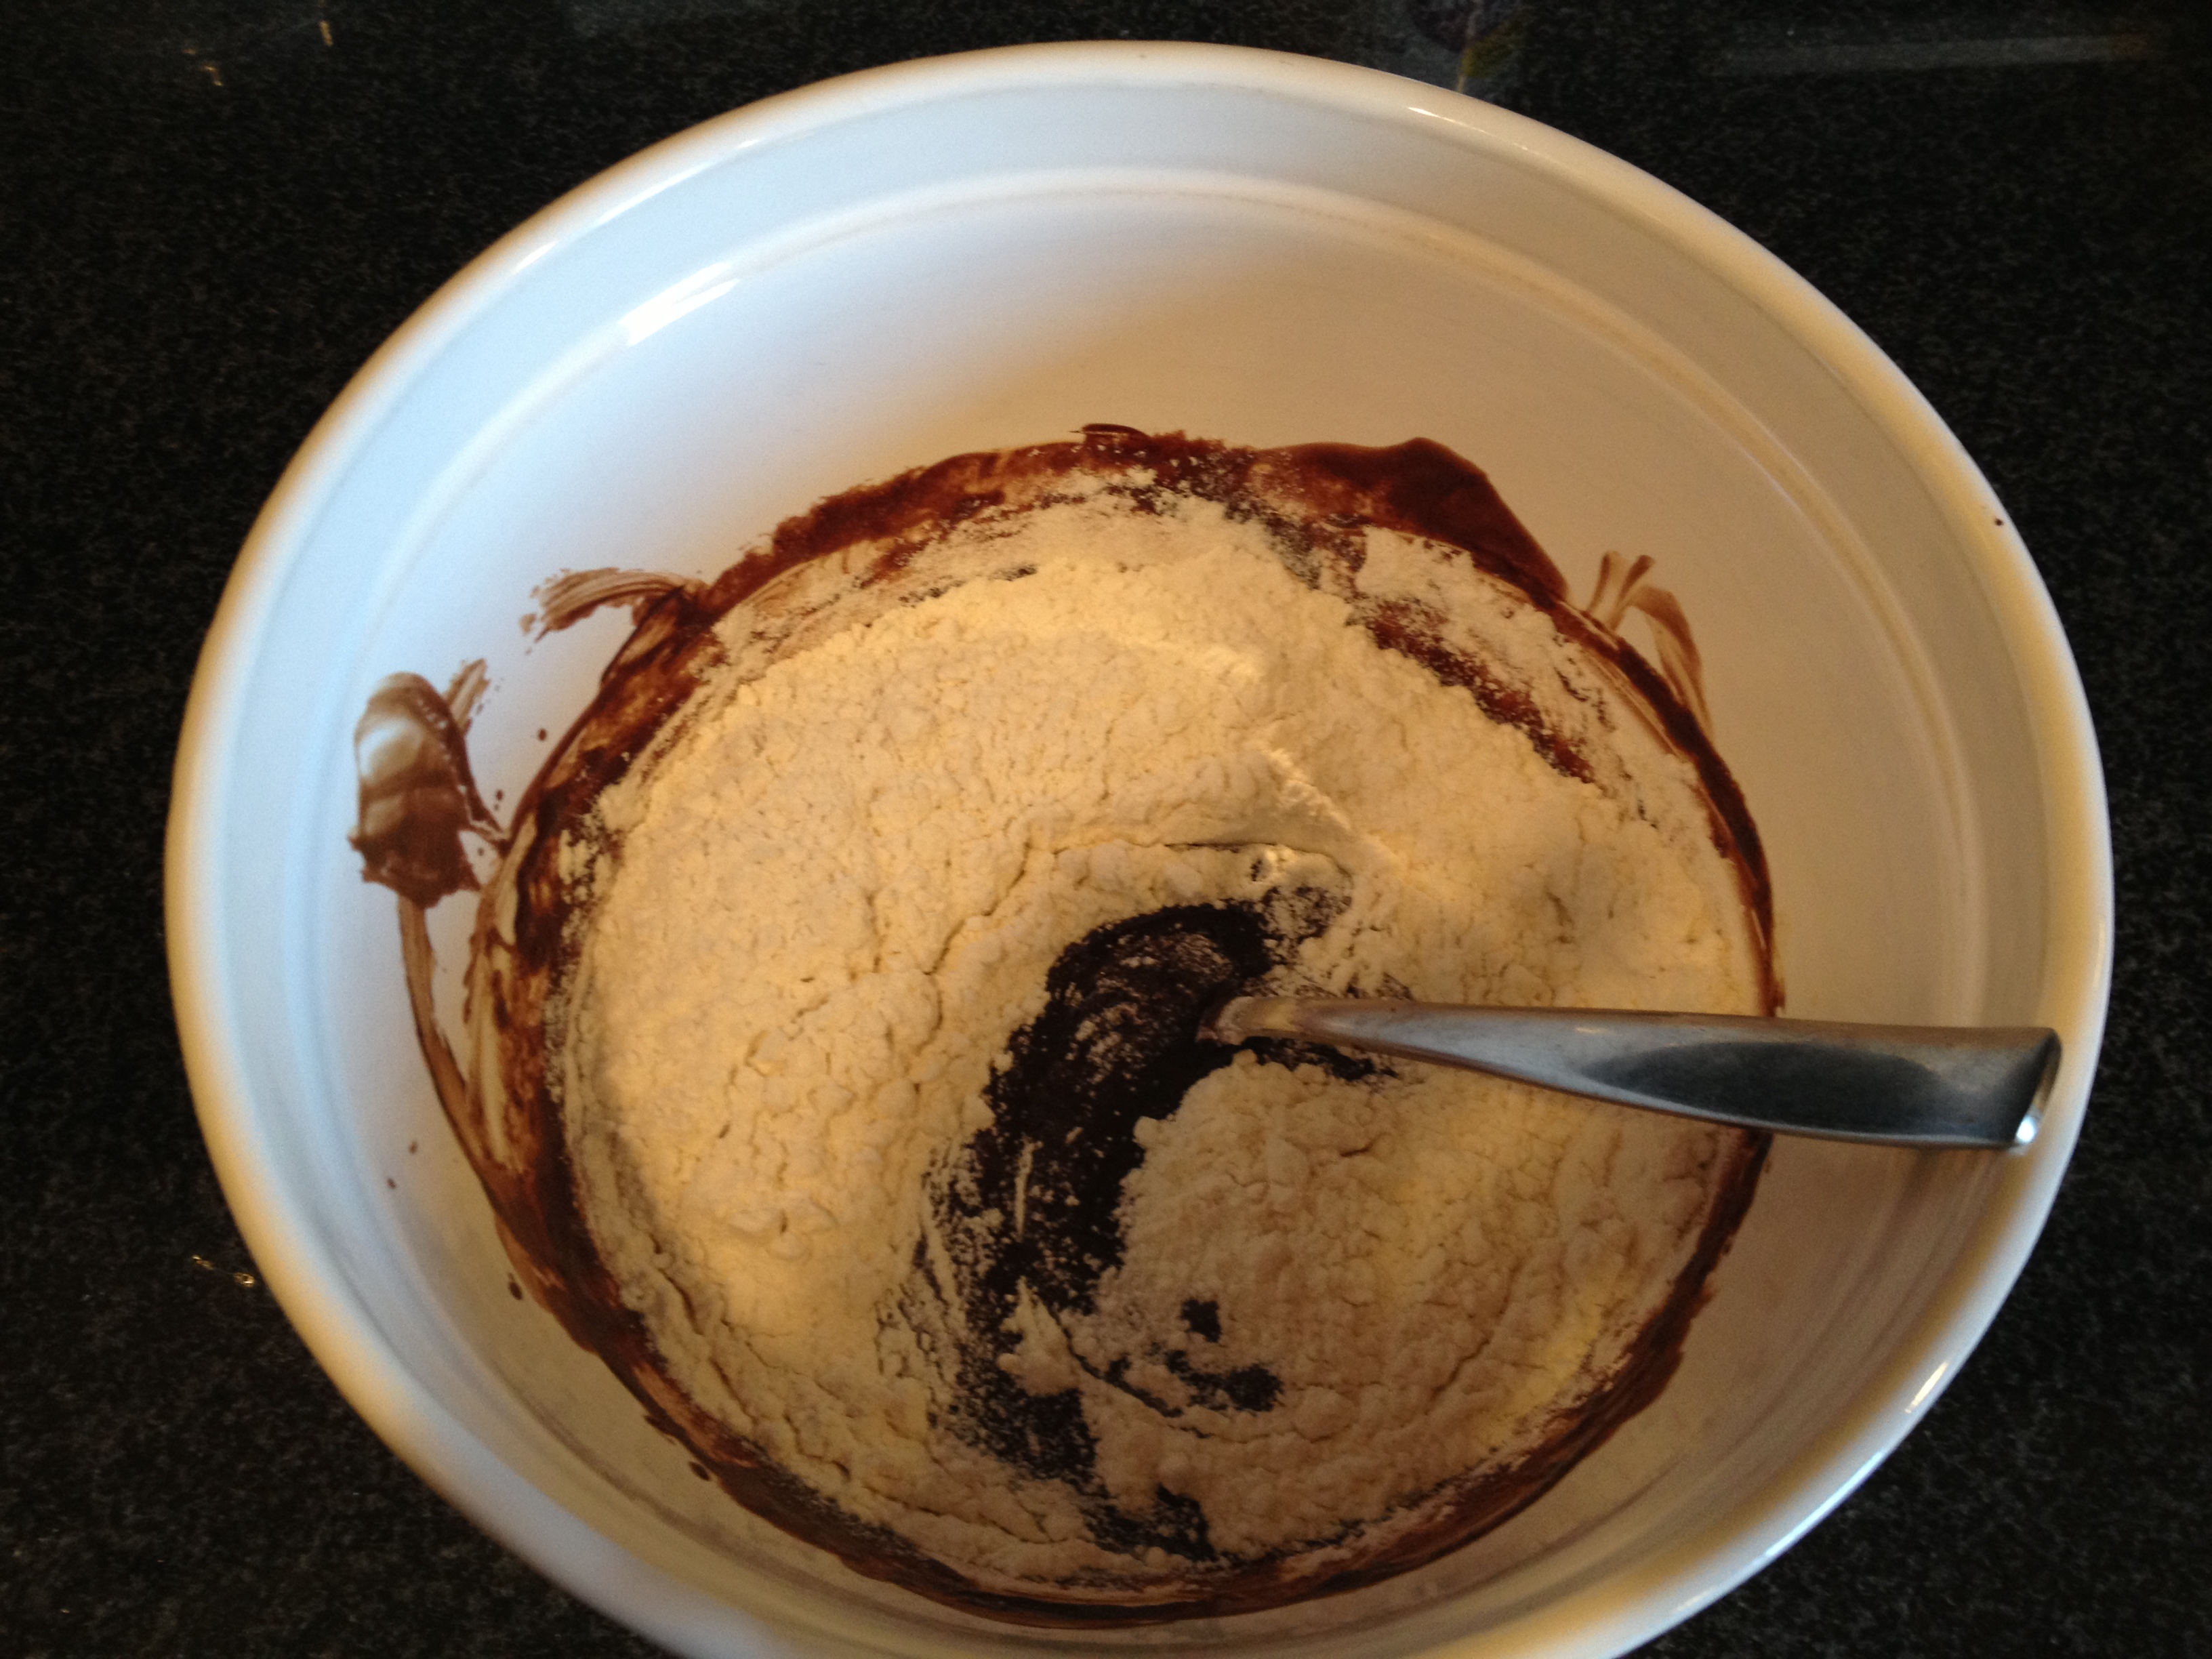 Adding dry ingredients
 Hardened caramel fresh out of the freezer – break it into small chunks and stir it all in to the batter
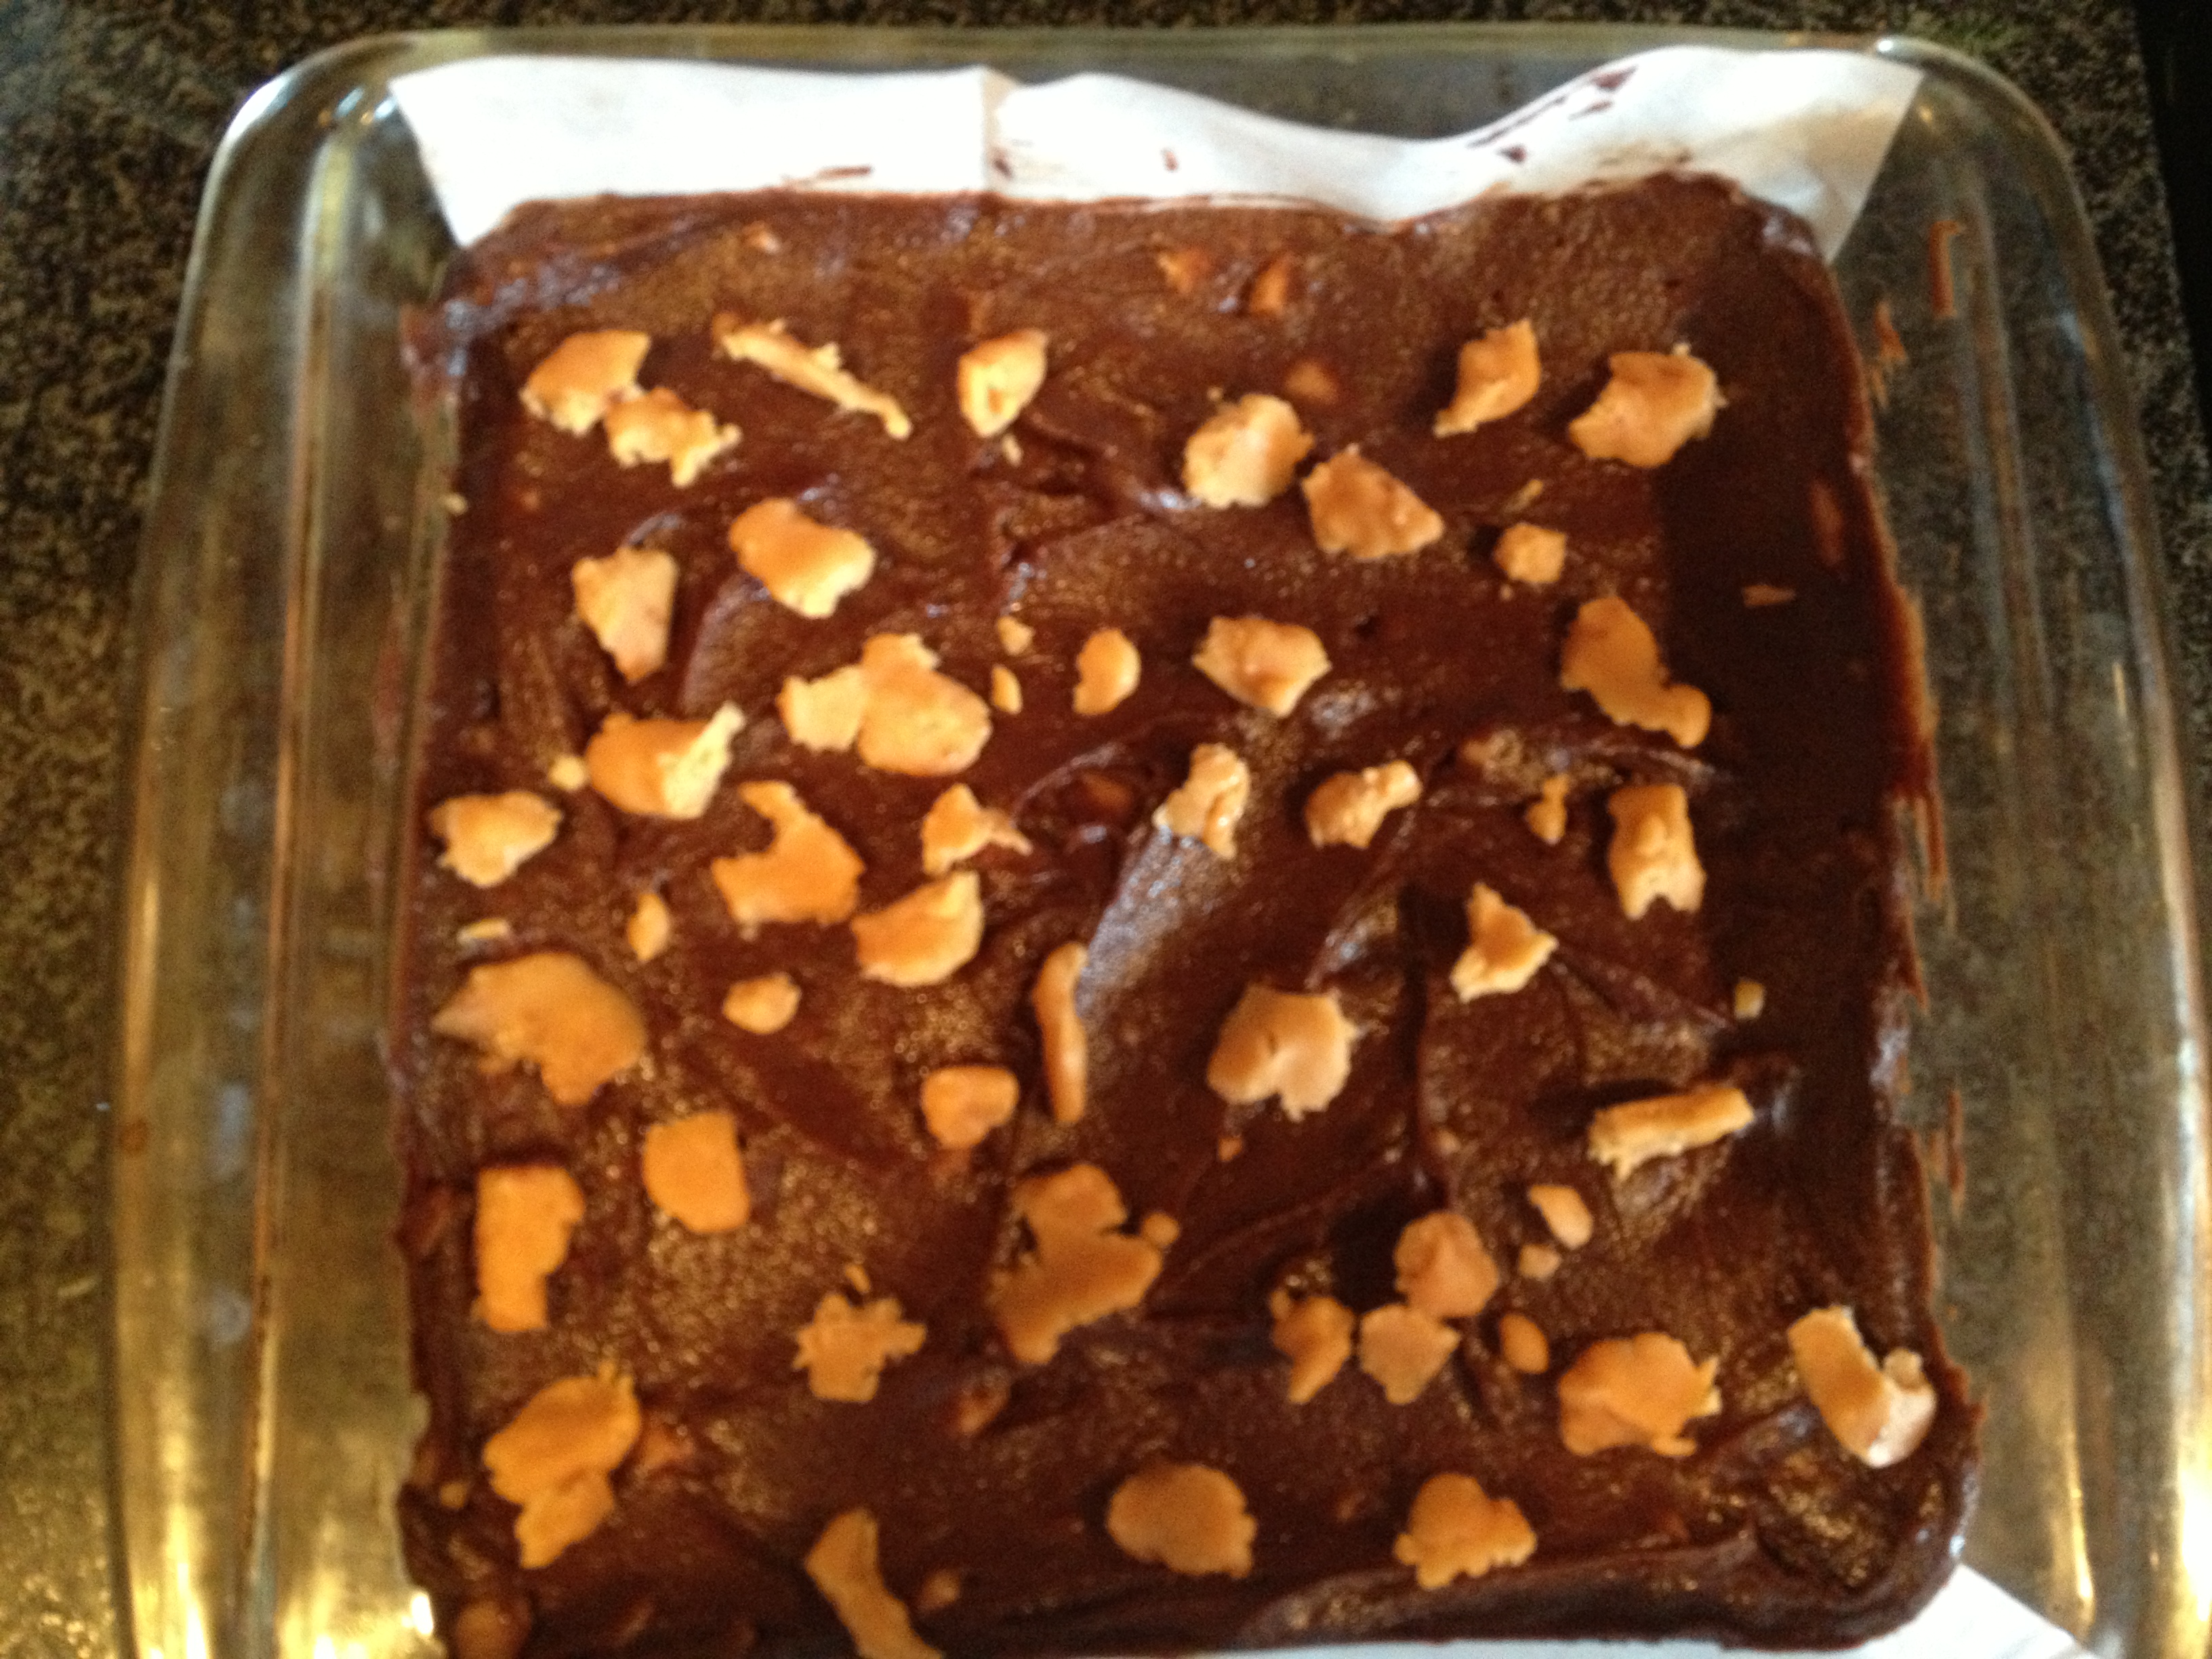 Spread in the baking dish and then sprinkle the top with additional caramel pieces
 Completed brownies (make sure your knife comes out clean but check often as overdone brownies are so disappointing)
 Cooled and cut brownies with those delightful little caramel bits peeking out
I think it goes without saying that these brownies are WINNERS. I think I left them in the oven about 2 minutes too long so they were the teeniest bit cakier than I would have liked, but the caramel in them is to die for. I adore the combination of chocolate and caramel and it was amazing (and surprisingly easy) to make my own caramel to put in the brownies. This is a total guilty pleasure dessert that is amazing to eat out of the pan the night you make it and amazing the next day in more appropriate cooled and cut brownie form!

Comments
2 Responses to “Salted caramel brownies”Trackbacks
Check out what others are saying...[…] go here for the salted caramel ingredients and instructions on how to make it. Pretty easy […]
[…] find caramels ANYWHERE (ok maybe I didn’t look enough places) so I just made my own from the Smitten Kitchen recipe and it wasn’t really enough so my layer was super thin. I’d probably recommend the […]