Chocolate swirl buns

Here is a glorious recipe I have been wanting to share with you all for a while. I am about to head off on a little 24 hour plane jaunt to London for the next week so figured I’d make this my send-off recipe. I made it for the brunch party I made all the other stuff for and I think it was probably the best dish of them all. Yes, it takes some time due to all the rising, but if you’re making it for brunch, prep it all the night before, put it in the fridge, and then you can bake straight from the fridge.
Needless to say, these are amazing. They are like the darker sexier sister to a cinnamon roll. They are certainly sweet, but if you serve with berries on the side and an egg dish, you’ve obviously got a totally balanced breakfast/brunch. You’ll need some yeast but other than that the ingredients list is easy – and believe me, as I’ve said before, making bread dough is not hard at all. The recipe looks quite long but it’s really only a few major steps, and the output is well worth the effort!
Chocolate swirl buns (courtesy of Smitten Kitchen, which I’ve obviously had a field day with recently)
Ingredients
Dough
1/2 cup (120 ml) milk, preferably whole but honestly skim is fine
1/4 cup (50 grams) plus a pinch of granulated sugar
1 1/2 teaspoons (5 grams) active dry yeast
1 large egg, brought to room temperature
2 cups (250 grams) all-purpose flour, plus more for work surface
1/2 teaspoon table salt
3 tablespoons (45 grams) unsalted butter, at room temperature, plus a bit additional for bowl and muffin tins
Filling
3 tablespoons (45 grams) unsalted butter, at room temperature
1/4 cup (50 grams) granulated sugar
1/2 pound (225 grams) semisweet chocolate – oh yeah. Lots of chocolate.
Pinch of salt
3/4 teaspoon ground cinnamon (technically you don’t have to put this in but you 100% should)
Egg wash (optional)
1 egg
2 teaspoons (10 ml) heavy cream or milk
First, prepare the dough. Warm milk and a pinch of sugar in the microwave. Only do it for about 30 seconds at a time – you’re looking for it to be warm but not hot to the touch. Sprinkle the yeast over milk and let stand until foamy, about 5 minutes. Technically, you can now whisk the egg and sugar together in a different bowl and add the milk yeast mixture to it, but I just added the sugar and mixed in and then added in the egg.
See the original recipe for the proper stand mixture way to do things, but I just added in the salt and one cup of the flour, and then cut in the butter and started cutting in little pieces of the butter and making sure they were all blended in. At that point it should be quite sticky, so add the rest of the flour until it becomes more dough-like. You should be able to pick it up in a big ball. Spray a large bowl with non-stick spray or butter it and put the ball of dough in it. Cover loosely with a lint-free towel or plastic wrap and let rise for 1 hour, or until doubled. In my opinion, you can’t let it rise for too long – so if you have 2-3 hours, that’s totally fine too.
In the meantime, prepare your filling. You can use chocolate chips or chocolate bars – if it’s in larger bar form, cut it cup into littler pieces. Then put in a food processor if you have one. Pulse the chopped chocolate with the salt, sugar, and cinnamon (if using) until the chocolate is very finely chopped with some parts almost powdery. My sad little blender did not do this very well and as a result I took it out and just sort of went at it with a fork in a bowl. Then, add the butter and make sure it’s very thoroughly mixed with the chocolate. It’s fine no matter which way you create it – basically you just want a chunky delicious mess of chocolate with the delightful aroma of cinnamon.
Set aside and butter a standard 12-cup muffin
Now you’re ready to form the buns! Once the dough is doubled, turn it out onto a well-floured surface and gently deflate it (or if you’re me, punch it down) with floured hands. Let it rest for another 5 minutes. Once rested, roll dough into as large a rectangle as possible, with the short side about 11-12 inches / 25 cm and the long side as long as you want.
Sprinkle the filling evenly over the dough’s surface. It’ll be clumpy and uneven and probably look like there’s too much chocolate for the volume of dough; just do your best. Tightly roll the dough back over the filling from one short end to the other, forming a log. With a sharp serrated knife, gently saw 1 inch / 2-3 cm segments off the log and place each in a prepared muffin cup. Loosely cover buns with plastic wrap or a lint-free towel and let them rise for another 30 minutes. Again, you can let rise for more. Once they are risen, you can also put in the fridge covered in plastic wrap overnight and cook the next morning (like I did).
When you’re ready to cook, preheat the oven to 350°F (180°C). If you’d like, you can egg wash your buns before baking them (whisking together an egg and the cream (or you can use water) until smooth, brush over each bun top). It doesn’t really make a difference in their appearance though either way so it’s not necessary. Bake buns for 15 to 20 minutes, until puffed and brown.
Set buns on cooling rack. Theoretically, you should cool them completely before unmolding them (with the aid of a knife or thin spatula to make sure nothing has stuck). But please, by all means, eat them warm. Or once they are cool, you can freeze them in plastic bags until needed.
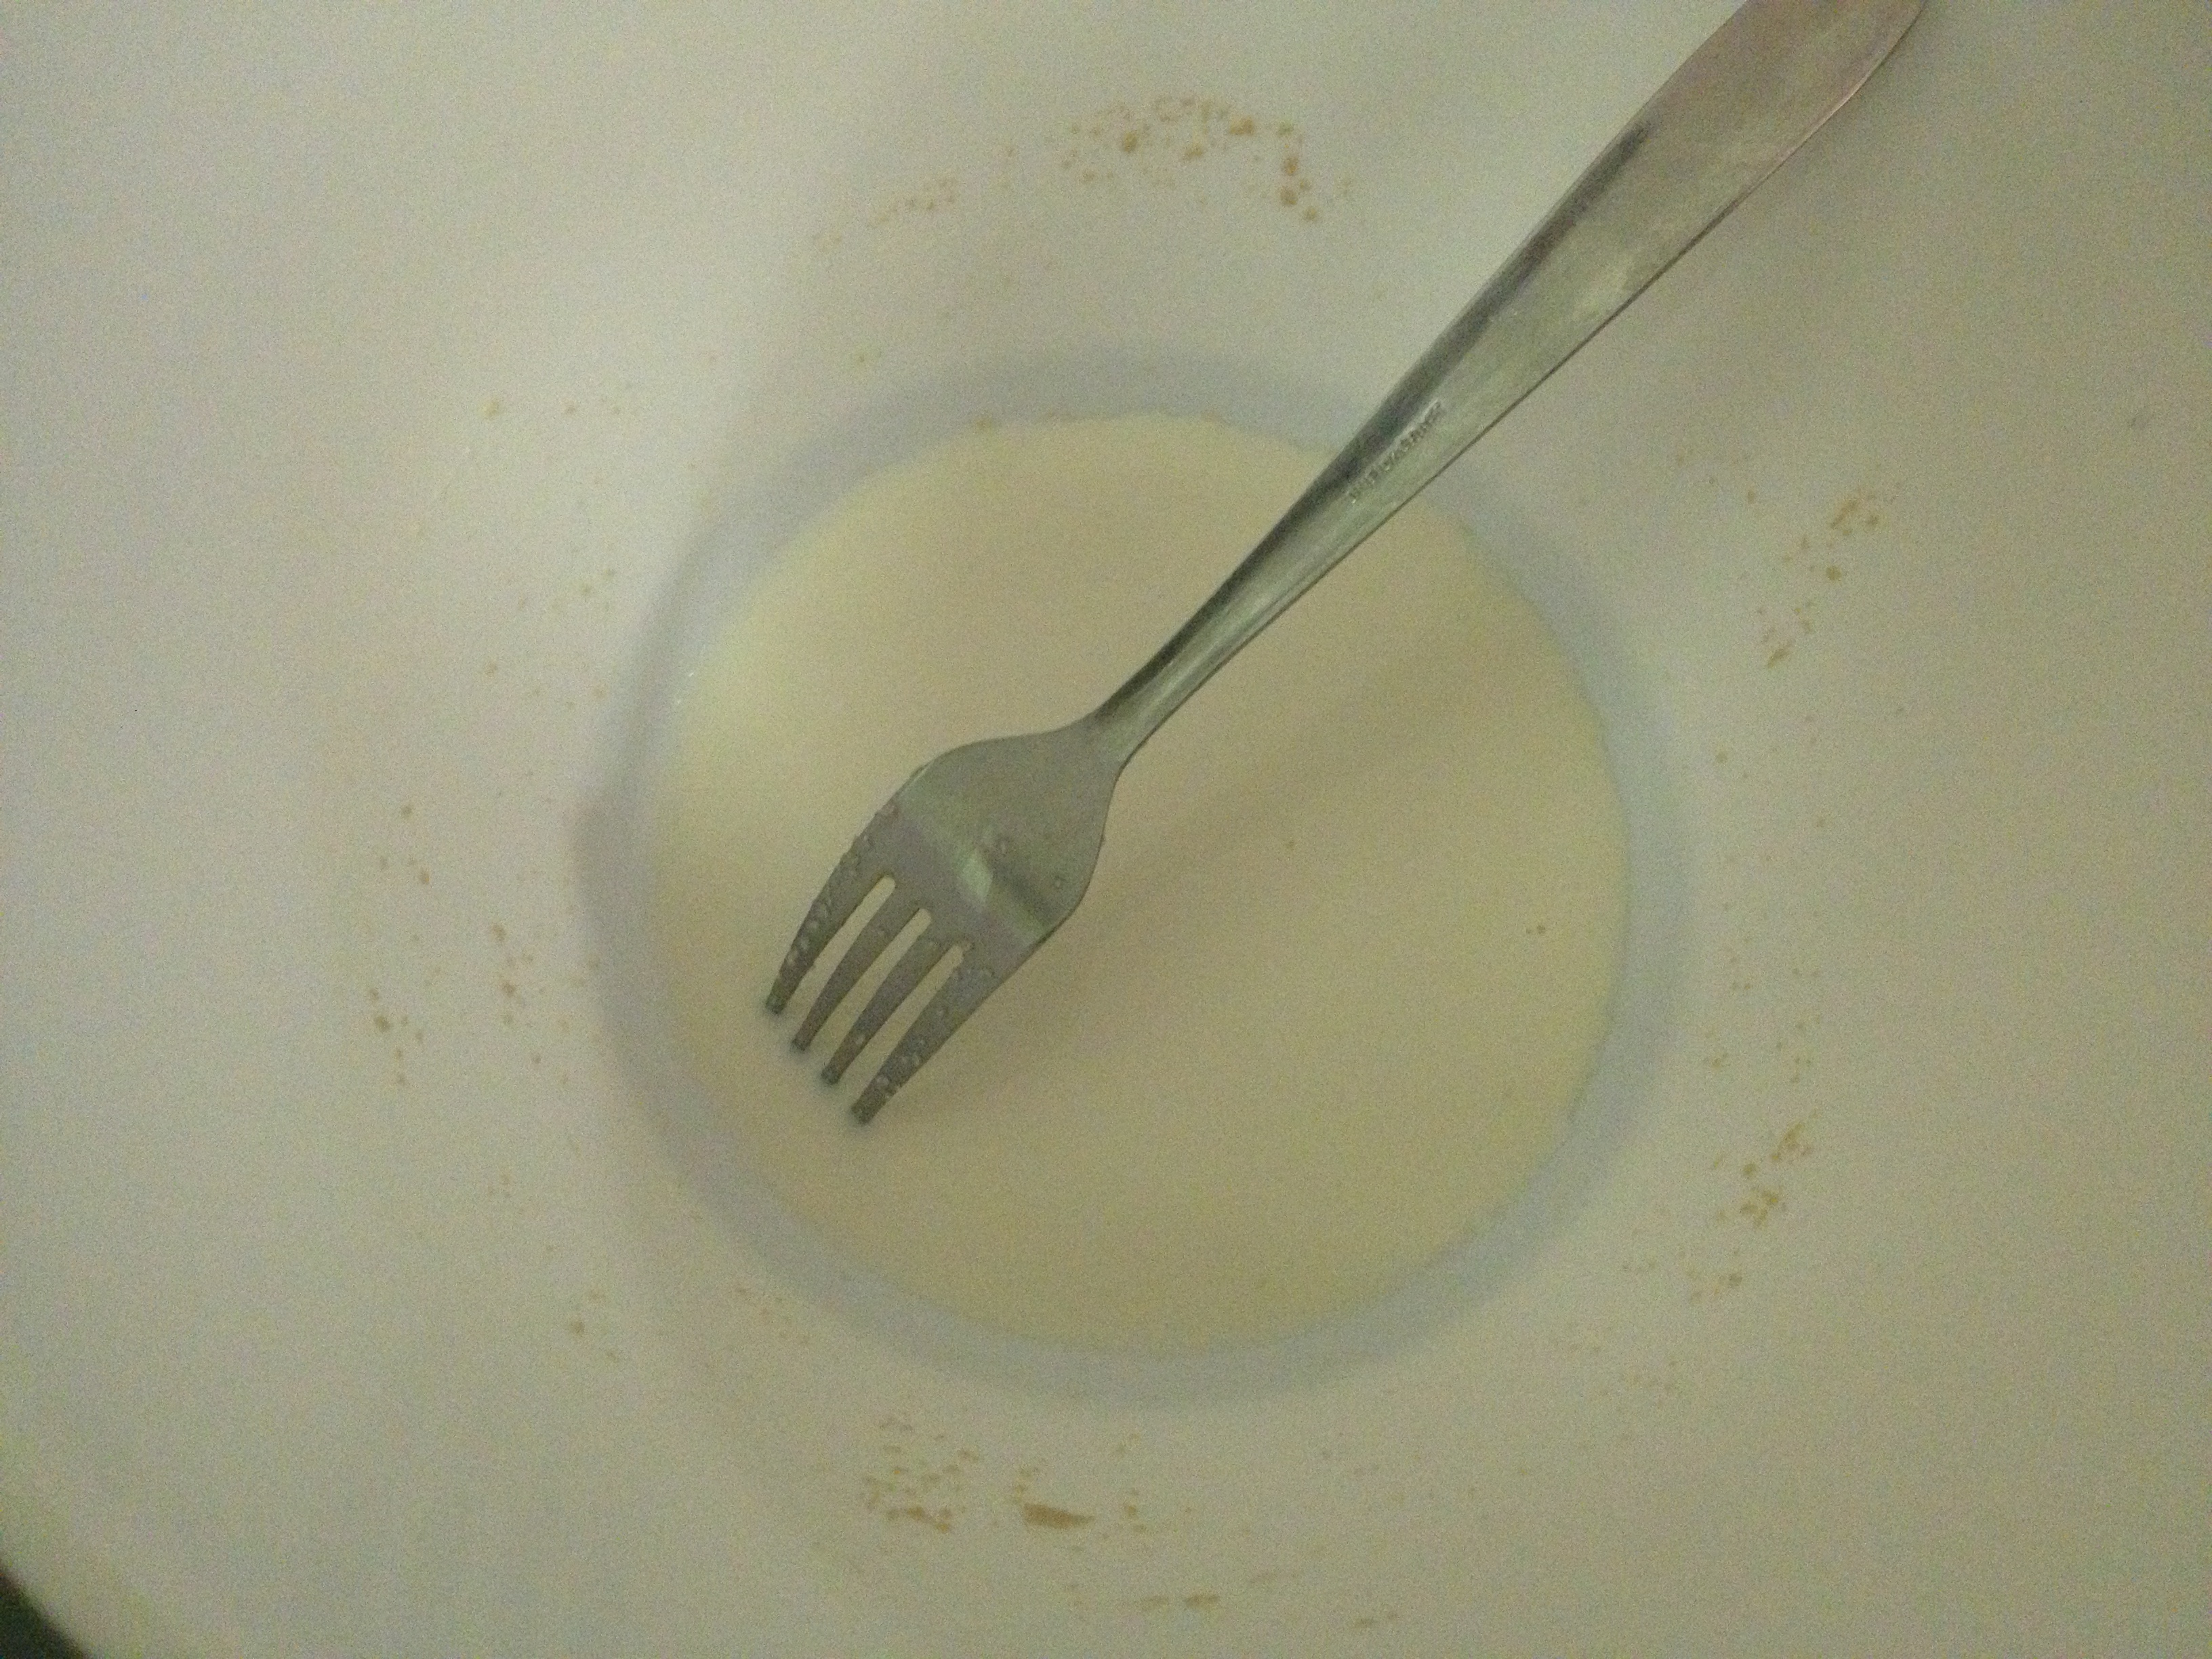 Milk and yeast mixture
 Adding the egg and the sugar
 Adding the other ingredients – per usual, I’ve done shortcuts, not used a stand mixer at all (since I don’t have one), and made it all in one bowl by adding some of the flour, then cutting bits of butter in, and then finishing with the flour
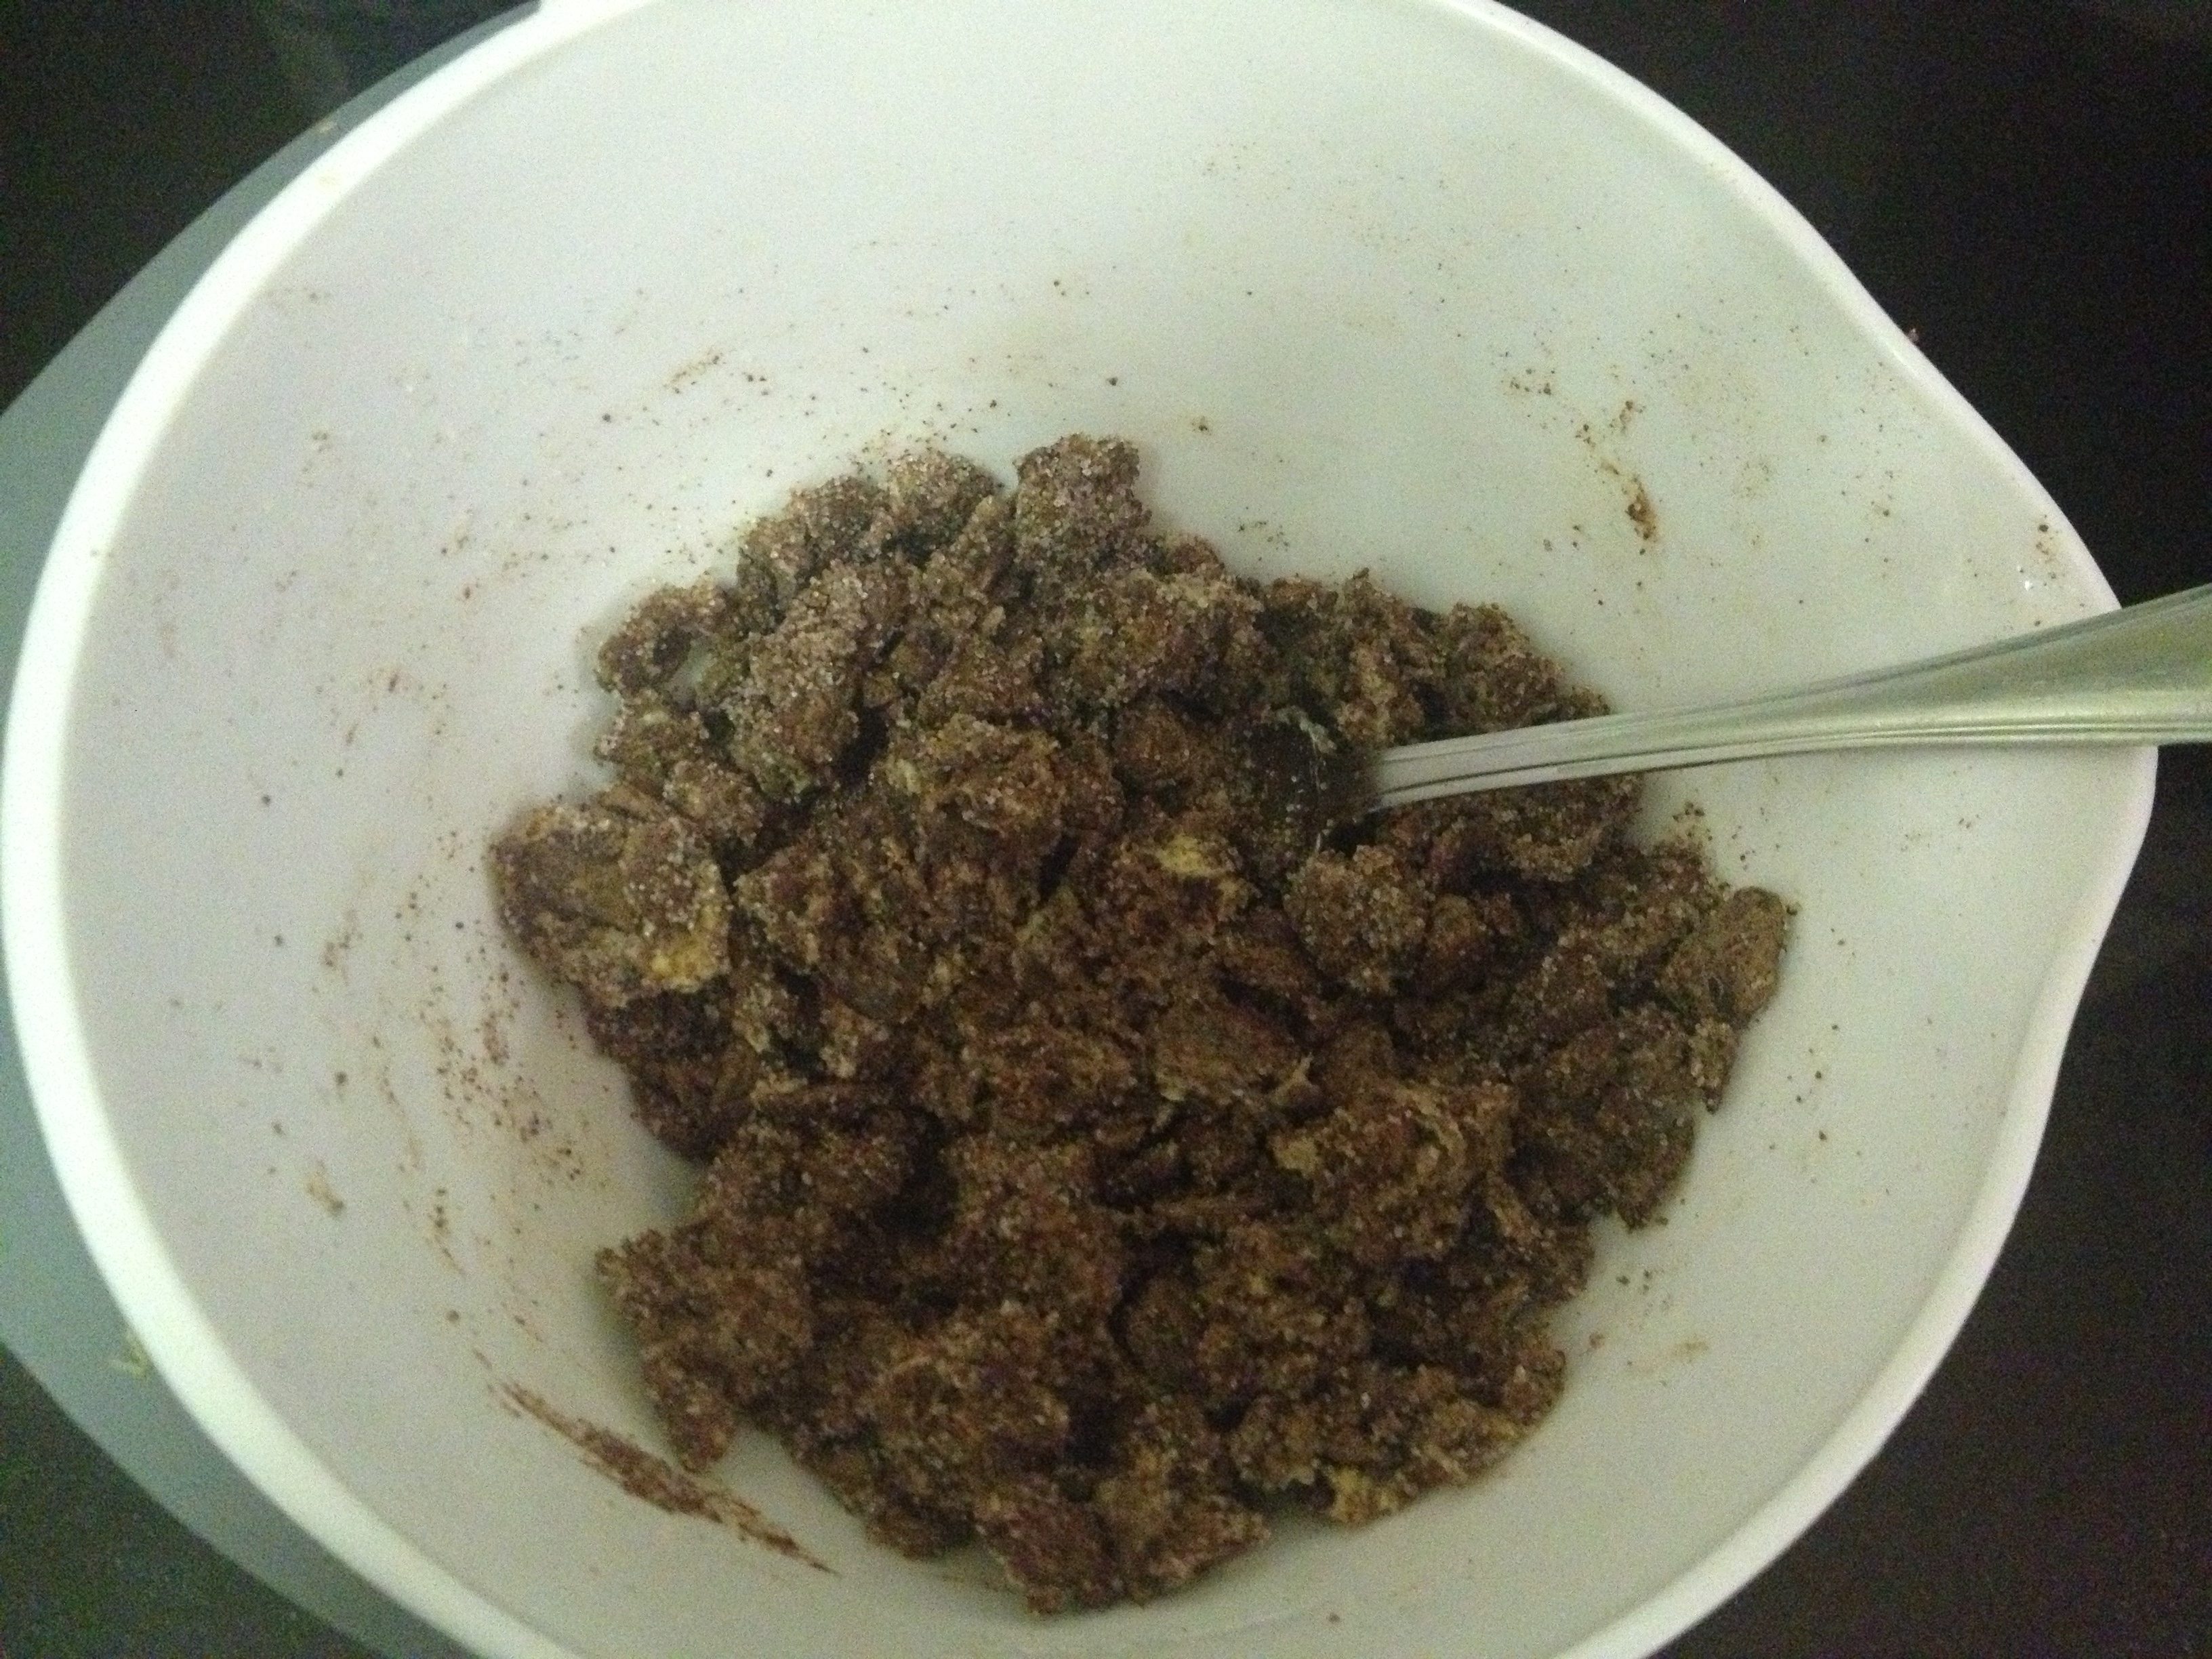 Making the filling! My “food processor” is a tiny little blender so didn’t do a very good job of processing all the chocolate – but it doesn’t need to be in crumbs, there can be bigger chunks
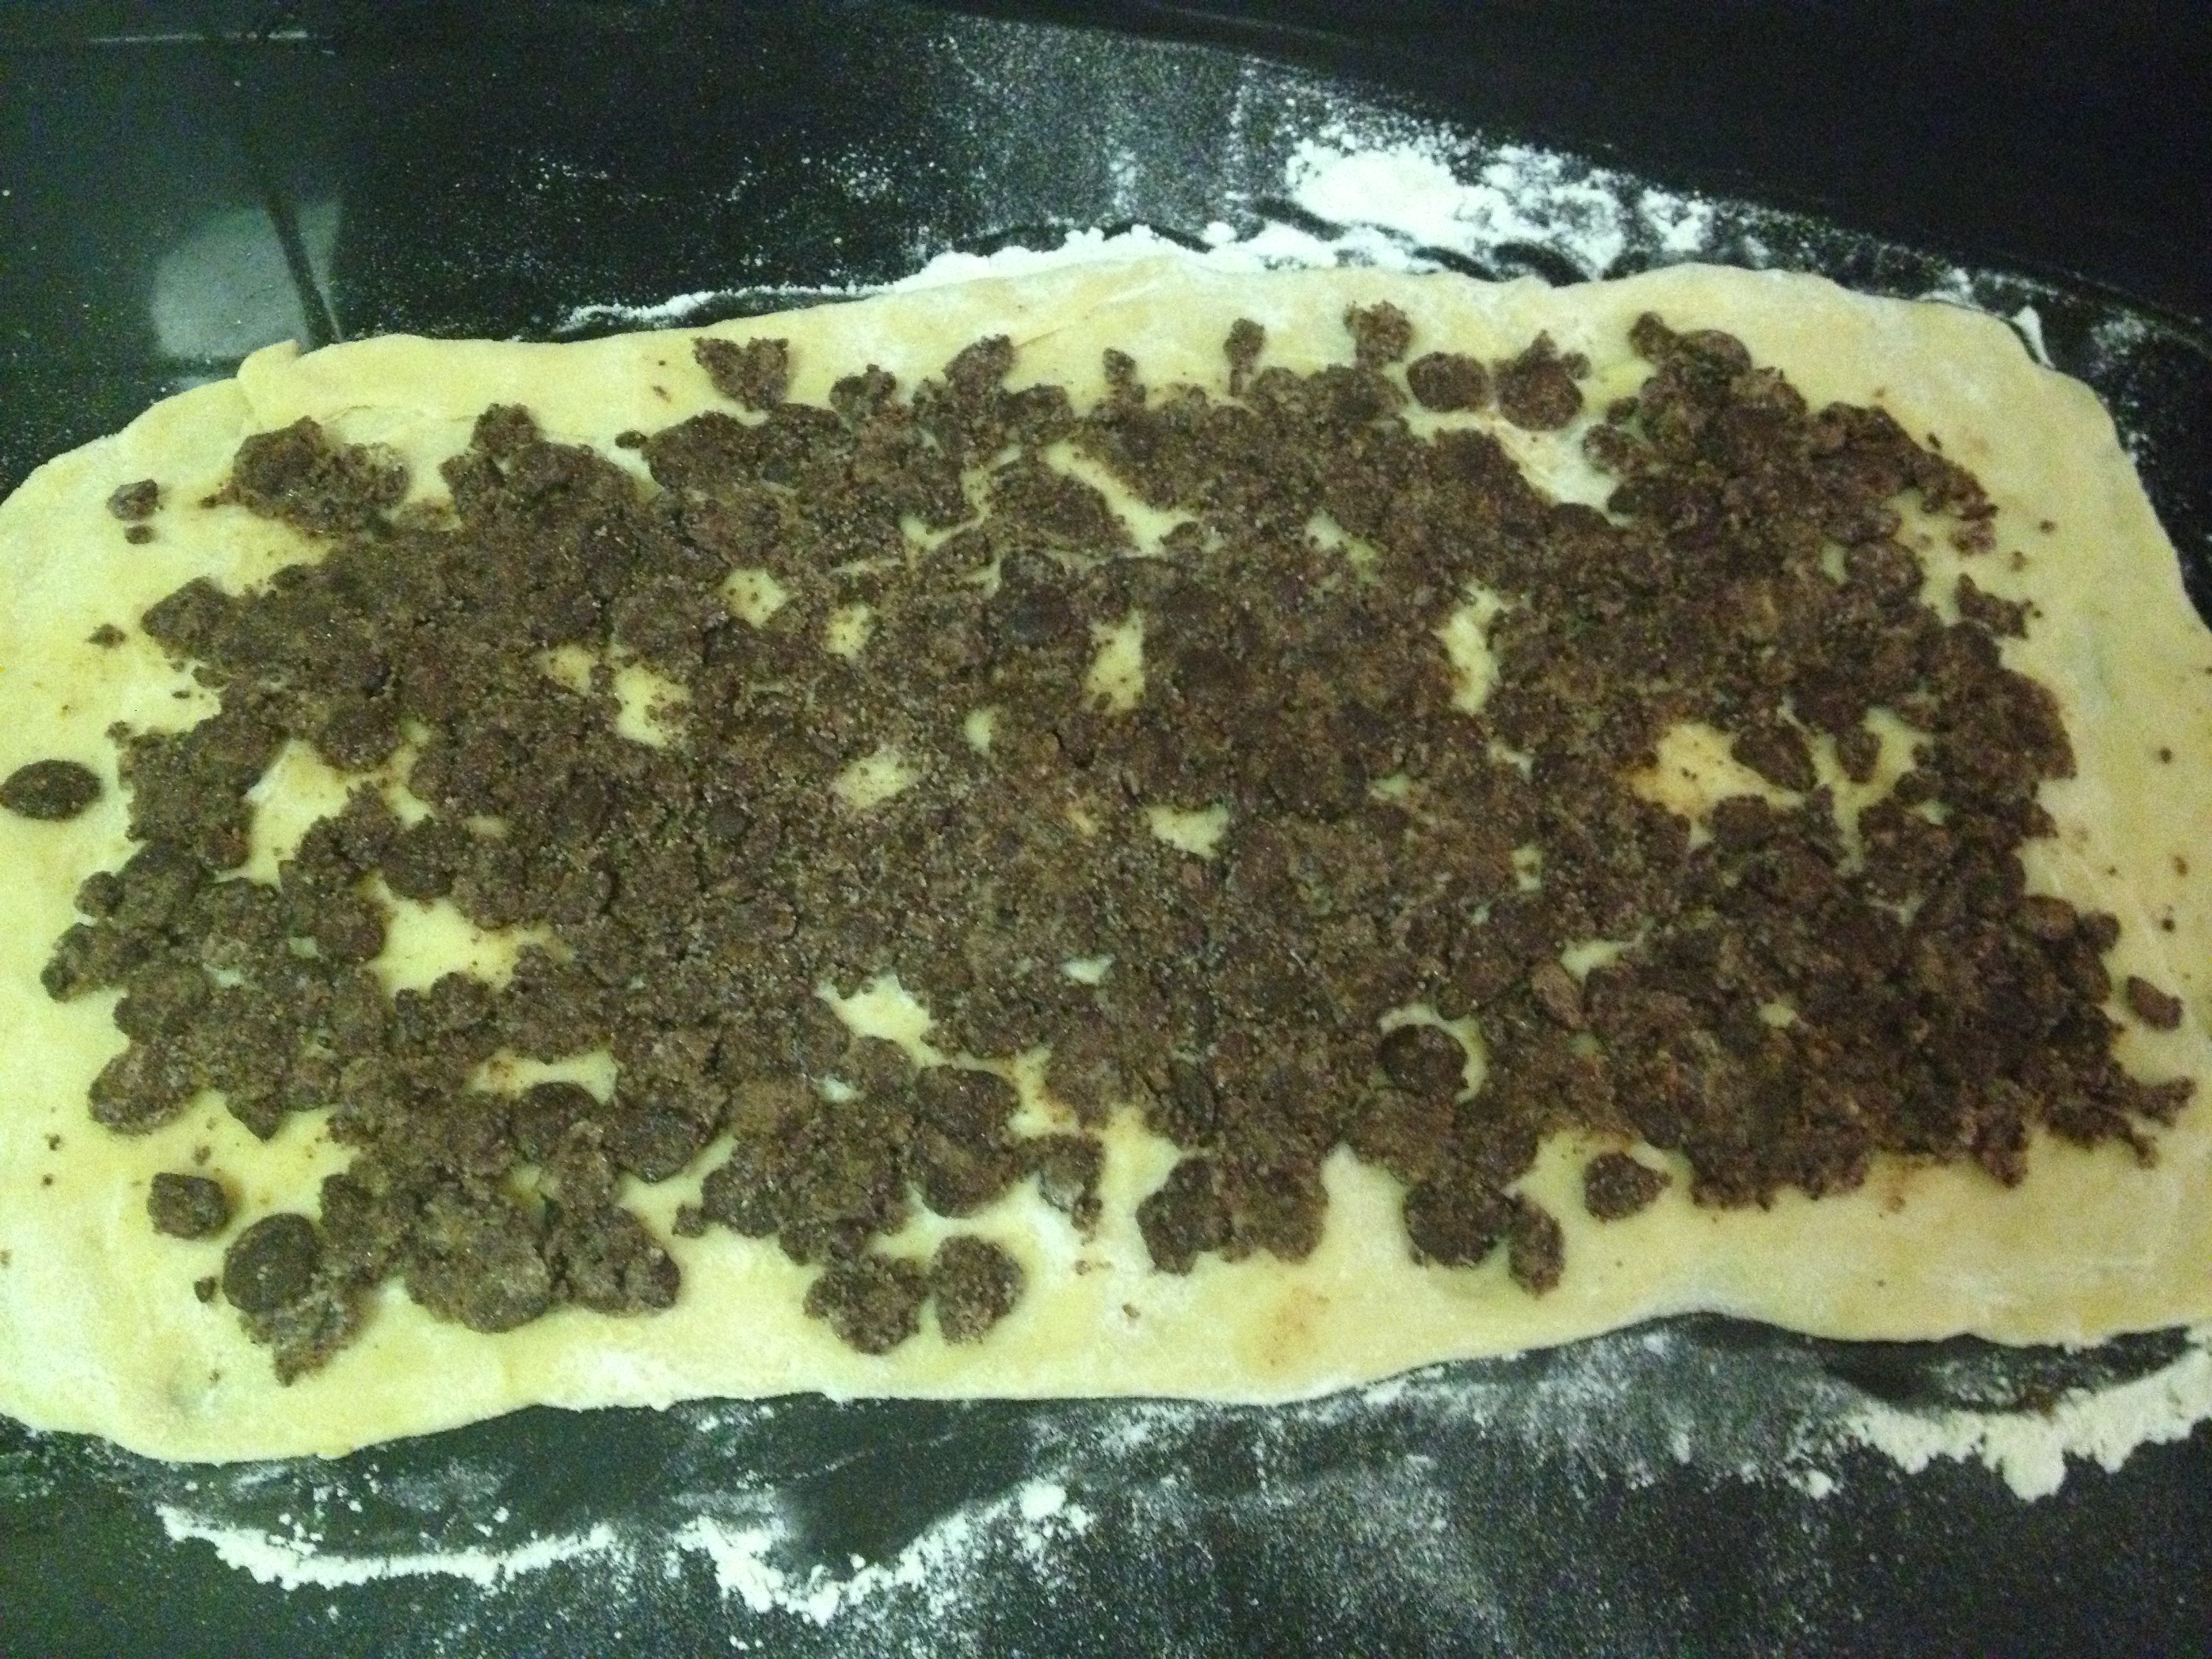 Rolling the dough out and sprinkling all the chocolate on it
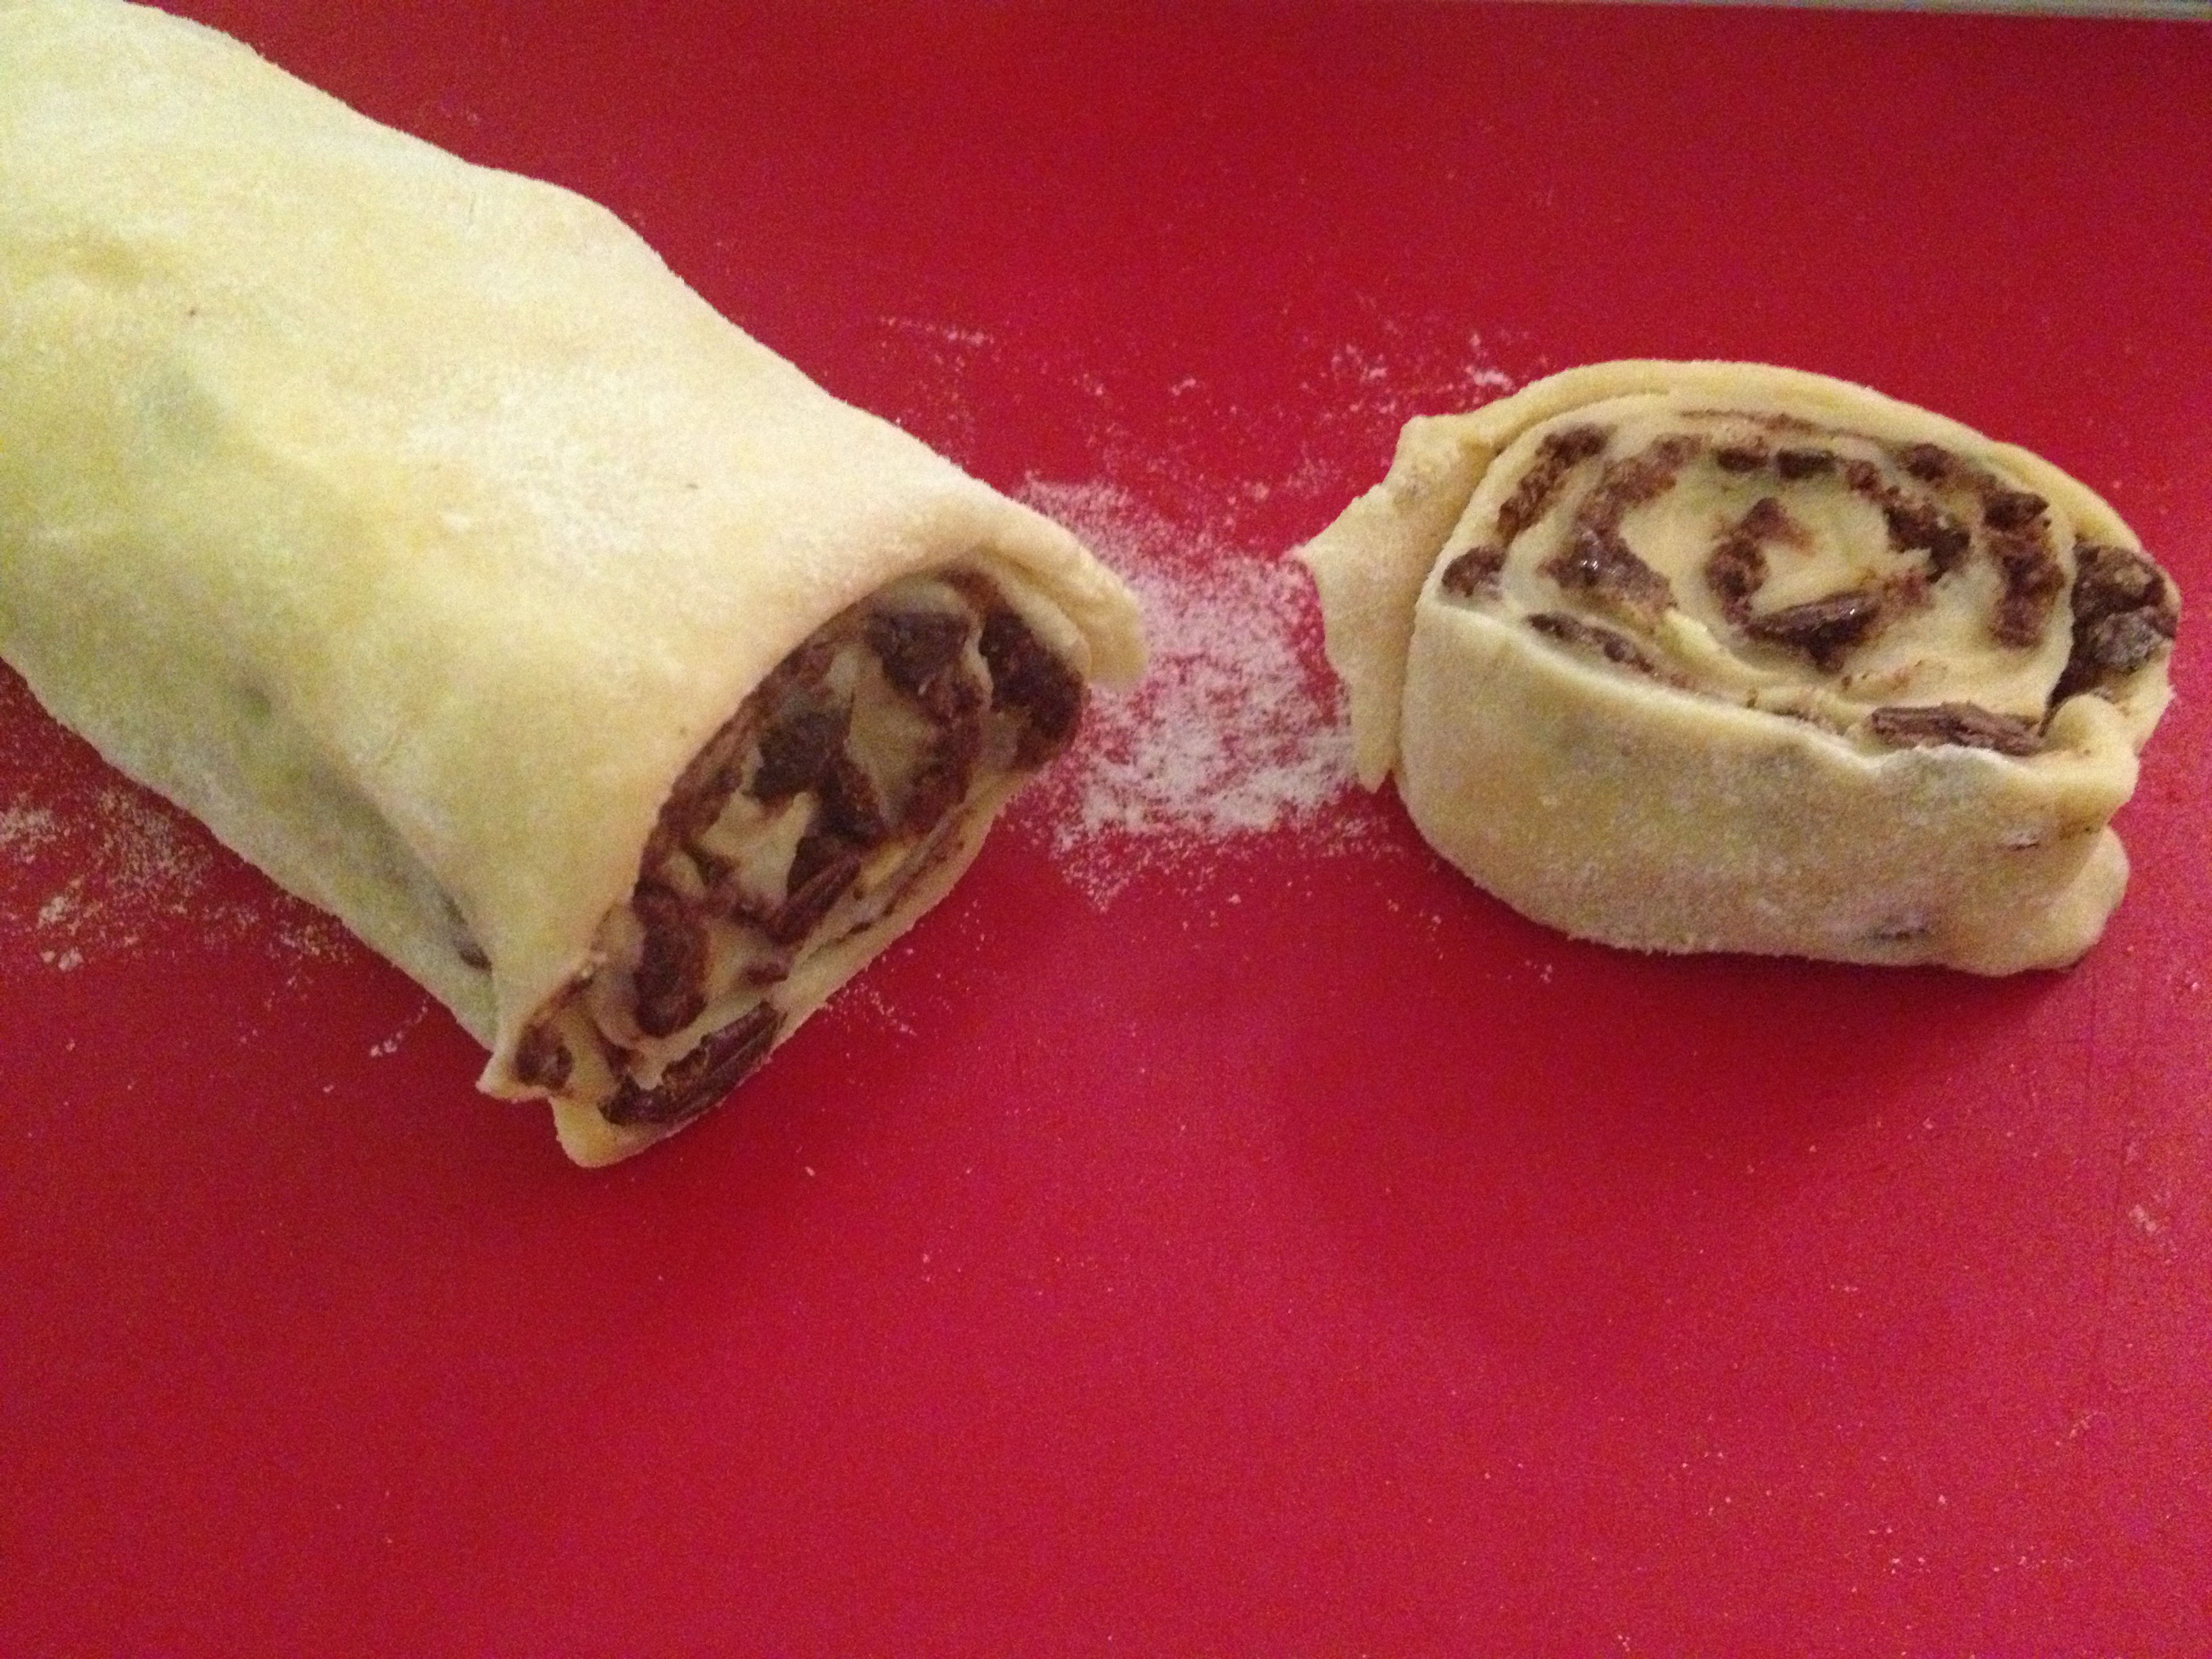 And then after rolling it up carefully, you chop it like so
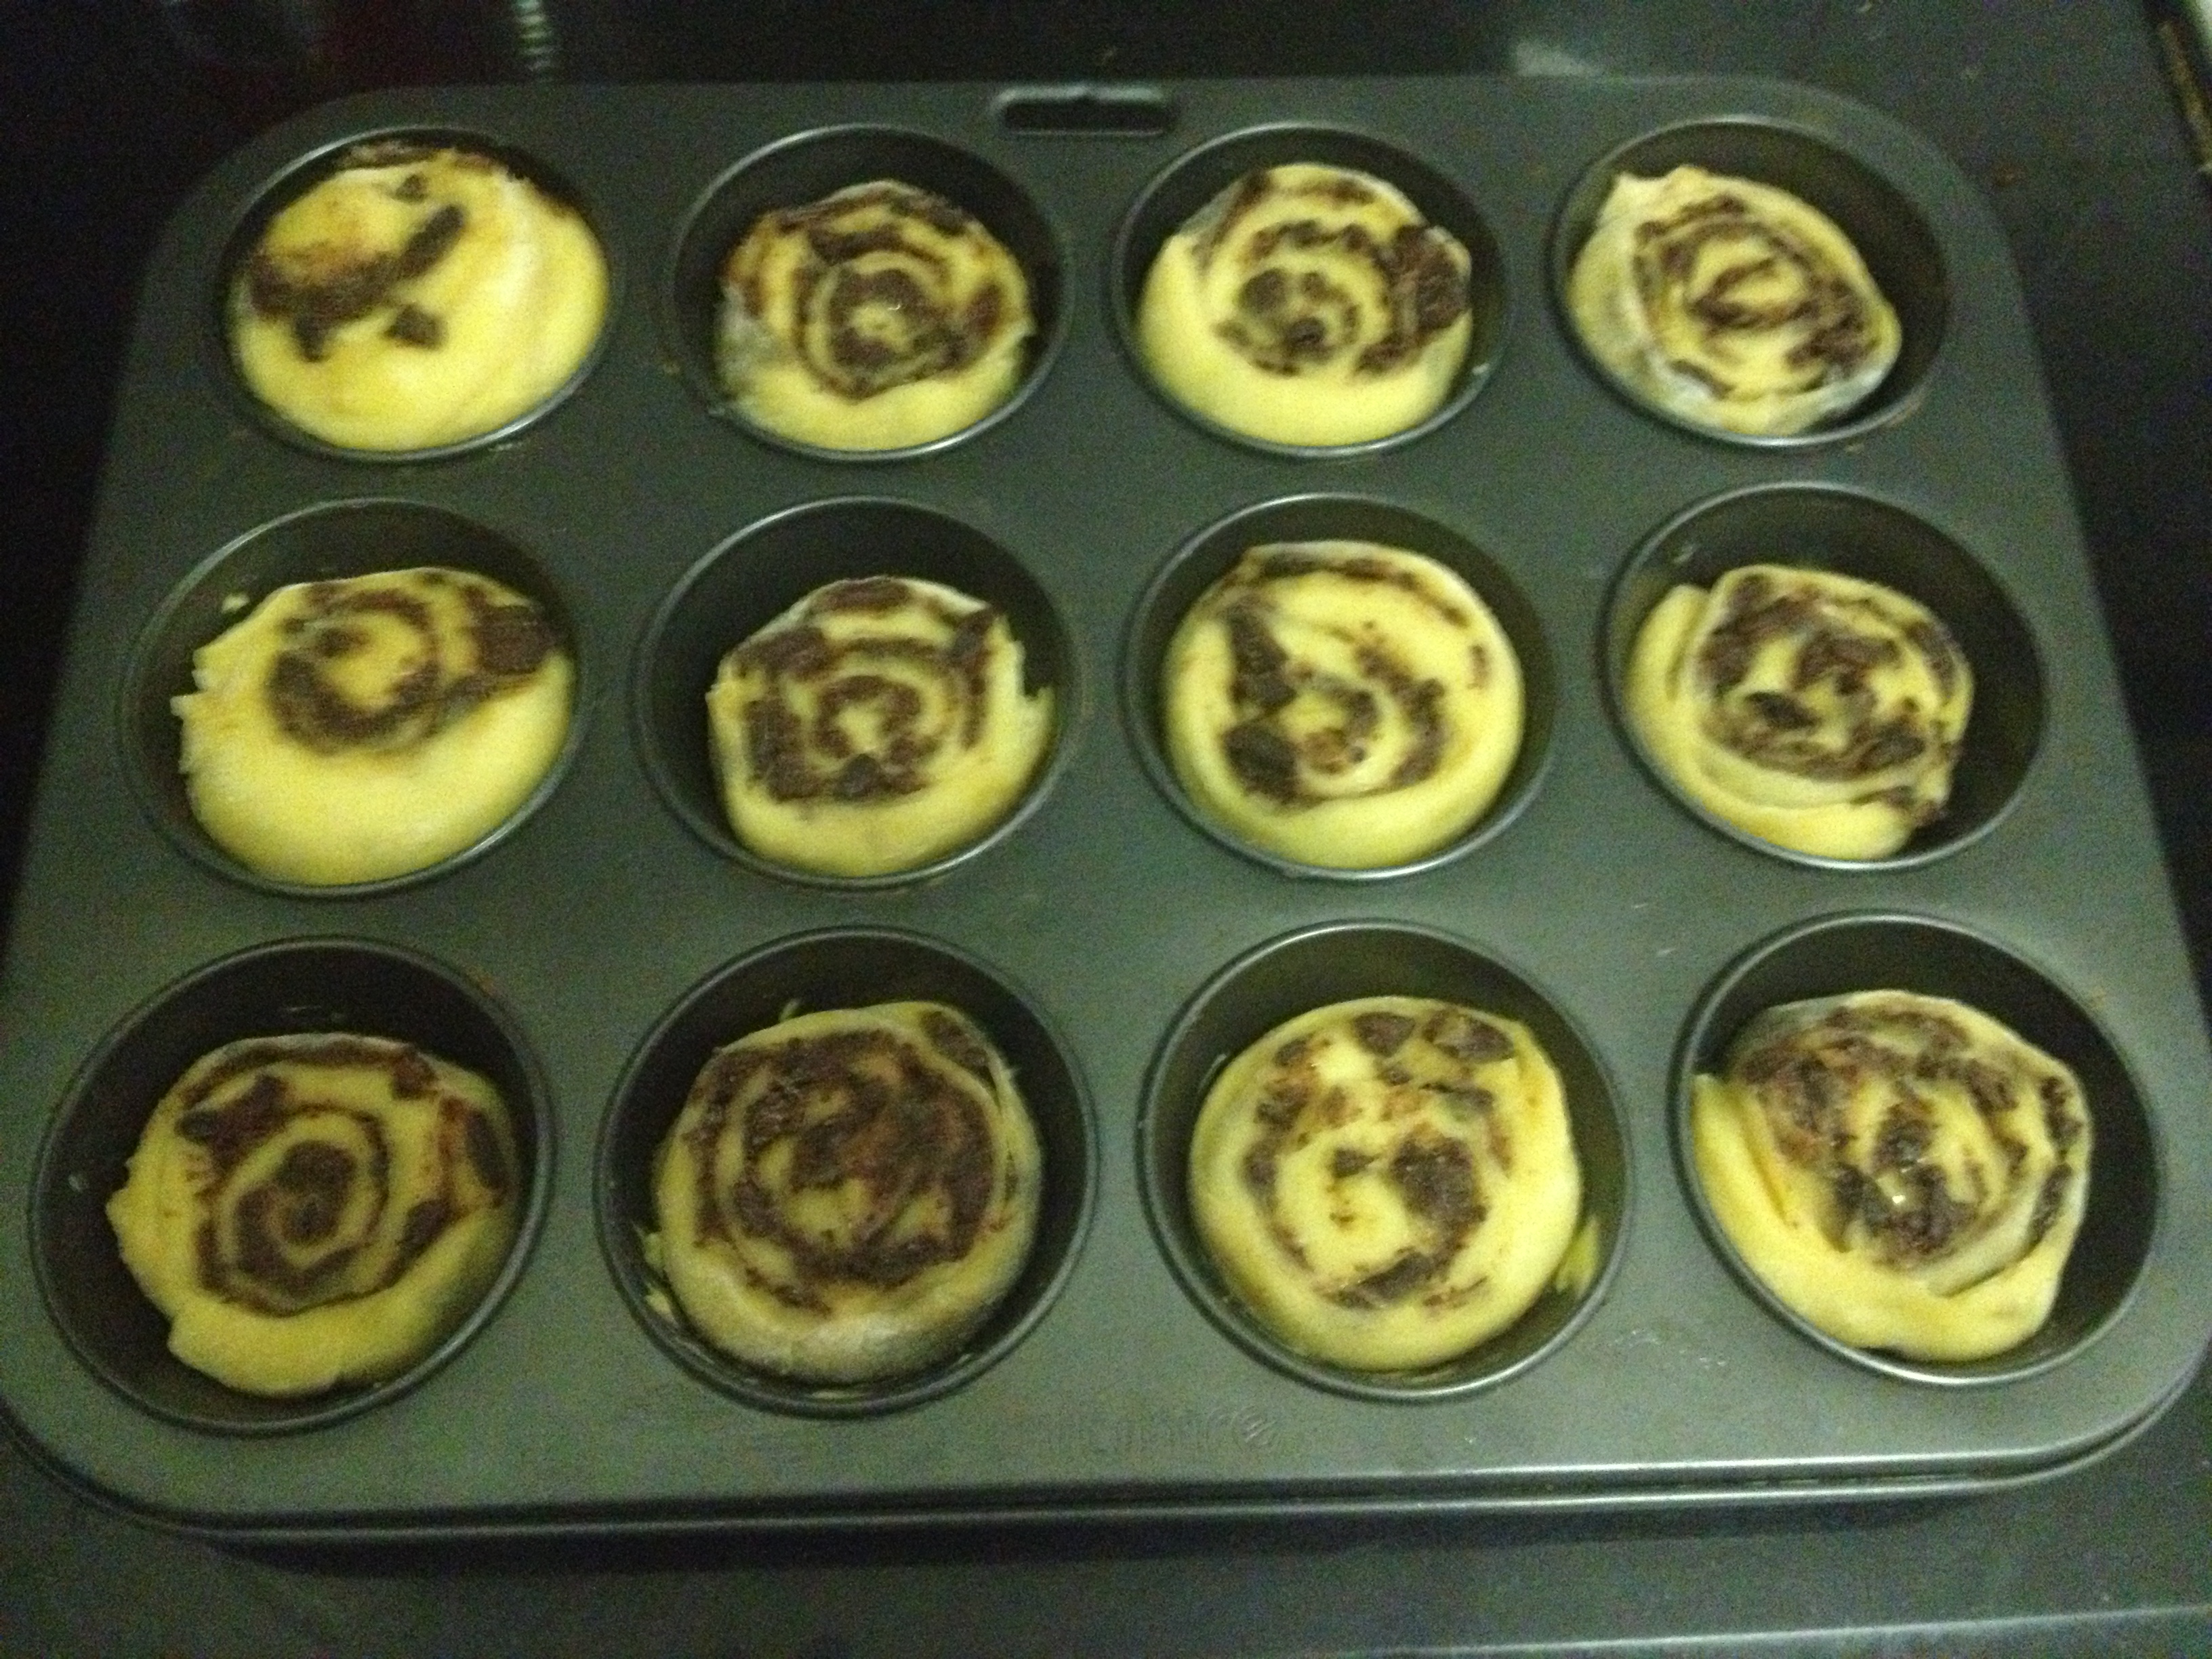 And put it in a buttered muffin tin
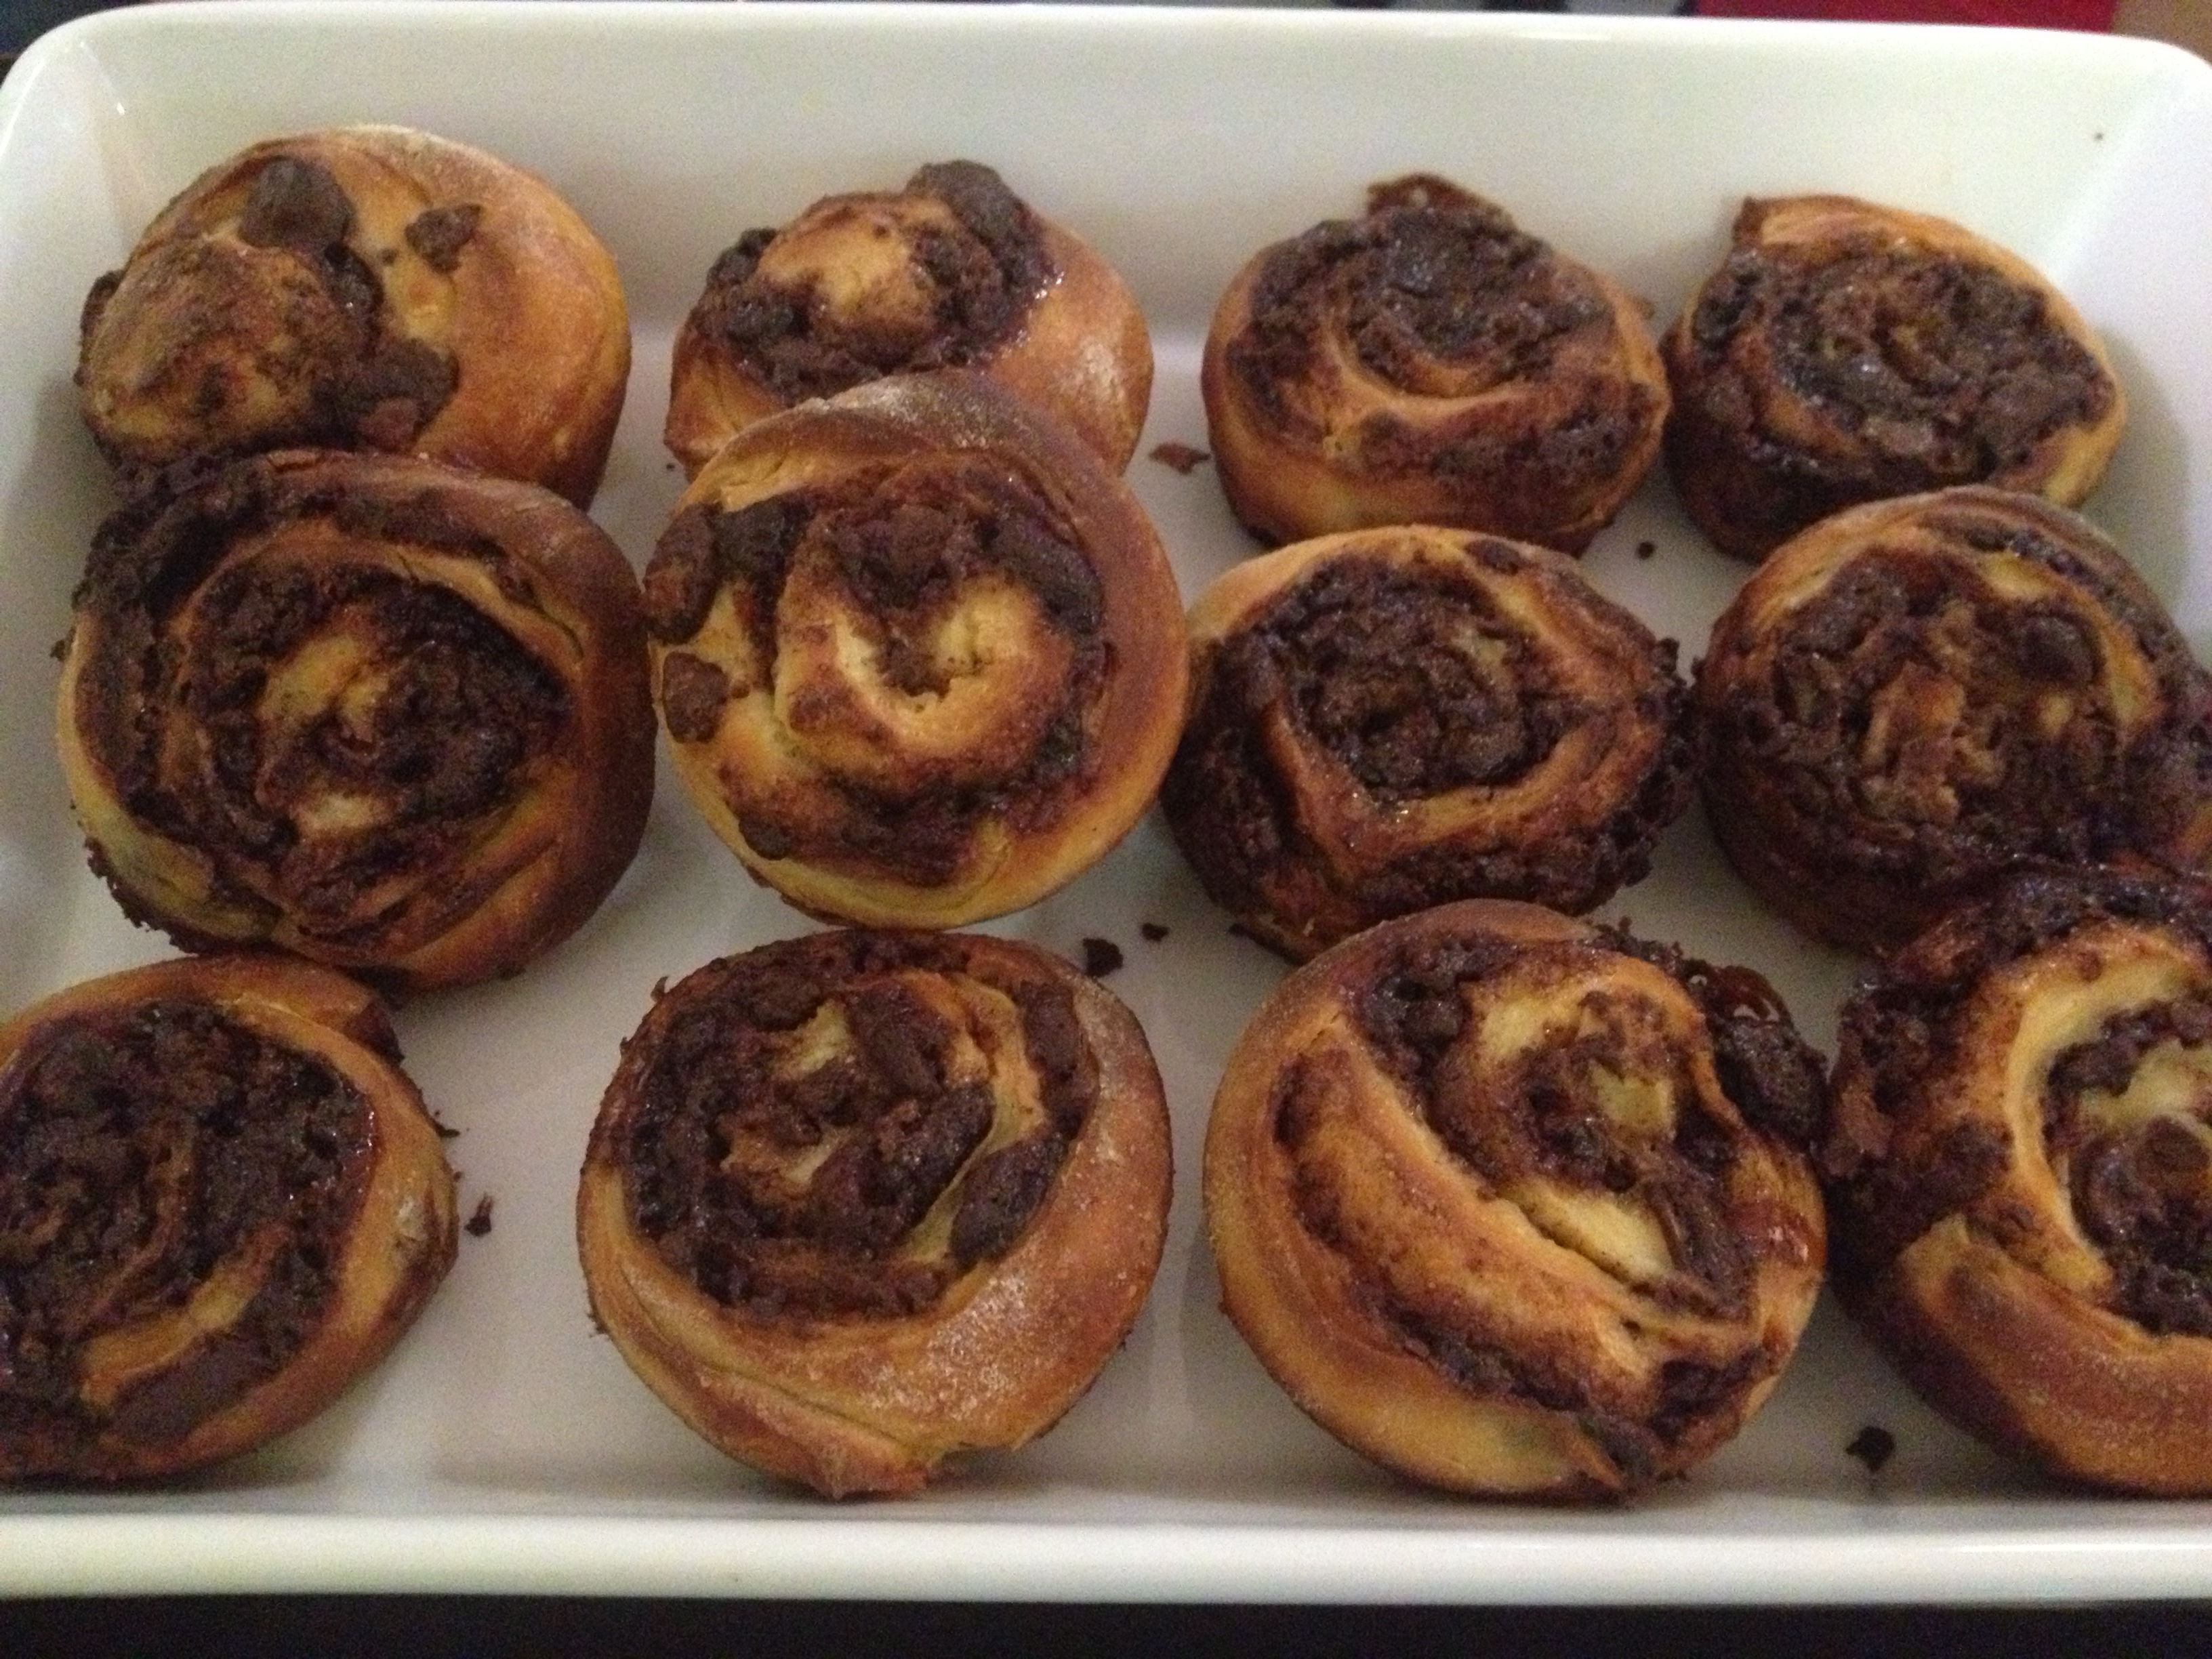 Glorious final product
People, believe me: these are WORTH THE EFFORT. They are one of the best bread products I’ve made to date. I mean…it’s chocolate and bread. What could be better? If you make these for a group of friends there is no doubt they will all love you more after they taste them. It’s just baking fact.
